
Refurbishing gently-used furniture not only saves you money, but it also keeps items out of the landfill. The obvious way to fix up an old table is to repaint it and swap out the hardware, but sometimes a vintage piece needs more personality than just a new color. In that instance, I go online to look for a unique and interesting wallpaper that can add some extra pizazz.
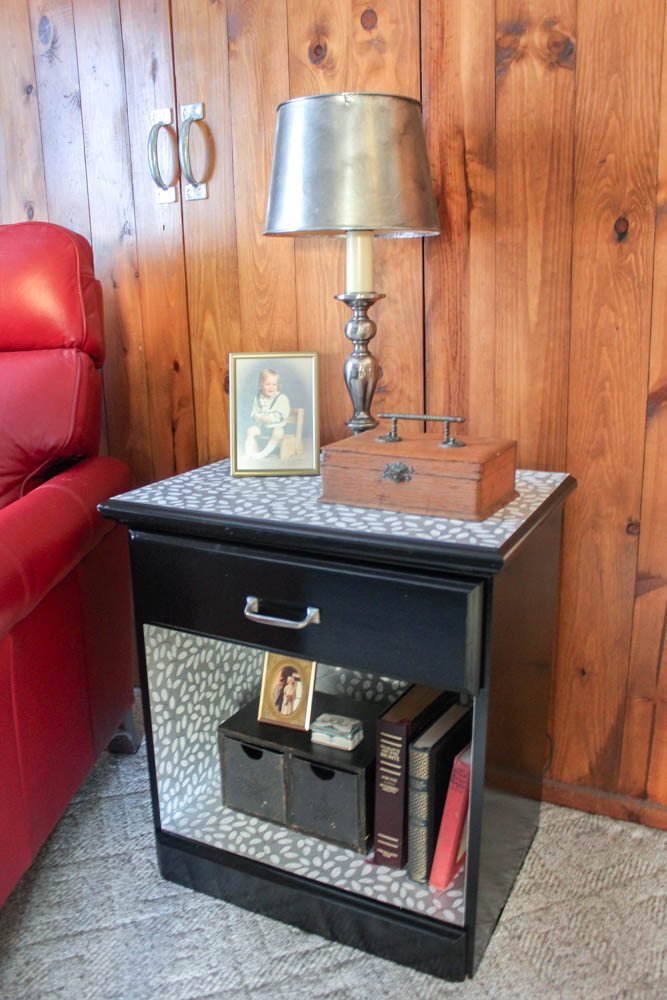
I found a small golden oak table with a single drawer and open storage space below. It was in good condition, but the color and drawer pull definitely dated it to the ’70s or early ’80s. It was a great size for a bedroom, either next to the bed or beside a chair.

The open storage space made it the perfect table for adding wallpaper. I wanted a fun, colorful paper with an abstract or curvilinear pattern. When papering in small, enclosed spaces, choose a small-scale print—a large print will just get lost.
You should also avoid stripes or plaids. You’ll drive yourself crazy trying to match patterns in corners and make sure all the lines are perfectly straight. I settled on a curvy branch and leaf pattern in black and white on a silver metallic background.

I planned to paper the inside and the top of the table, so the rest of the table got a couple coats of semi-gloss paint. As with almost all design projects, you should pick your paint color last. I went with black, but if the paper had other colors, I could have matched the paint to the paper.

After the paint dried, I measured each section or wall of the table and cut a piece of paper to fit using a straight edge ruler and utility knife. Be sure to label each piece and mark the top. You’ll want to install the paper in the same direction.

For small furniture projects, choose pre-pasted paper. It’s less messy and much easier than mixing and applying paste. Submerge the paper in a pan of lukewarm water for the amount of time recommended by the manufacturer – usually about 30 seconds.

Slowly lift the paper out of the water and lay it on your work surface. The next step is to “book” the paper, by gently folding it in half, paste side in, without creasing the fold. Let the paper rest for the recommended amount of time, usually two to three minutes.

I started with the back, then did the two sides and finished with the bottom. I applied the top piece last, then used a wallpaper brush to smooth out all the air bubbles.

Although wallpaper is durable, I recommend having a piece of glass cut to fit the top of the nightstand to protect it from spills and marks. Finish your table makeover with a new drawer pull or knob that coordinates with the wallpaper style and color.
Interior designer Merri Cvetan is always looking to make a space or piece of furniture better. She provides great tips on using wallpaper to update a wall or piece of furniture. You can find all the materials you need, including wallpaper options, at The Home Depot.


Join the Conversation