I try to keep an open mind when I’m shopping at Goodwill stores or flea markets. Sometimes I find an item and have no idea what I will do with it, but can’t pass it up because I know at some point I’ll come up with a great DIY project. Other times, I spot something and an idea pops in my head immediately. That’s what happened when I found four corner bookshelves. Together, I imagined, they could be a cute little side table. 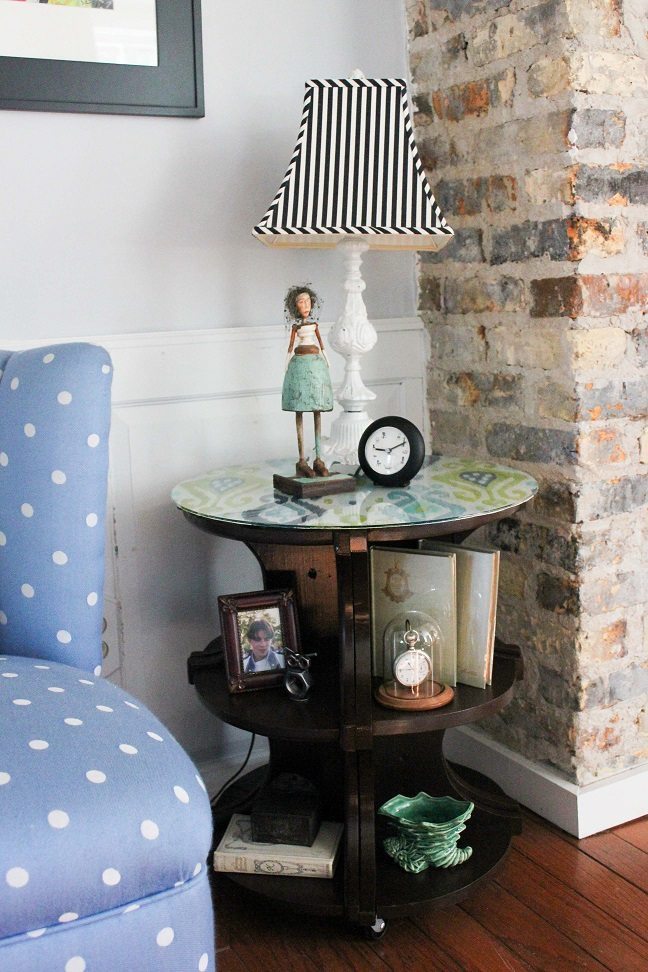
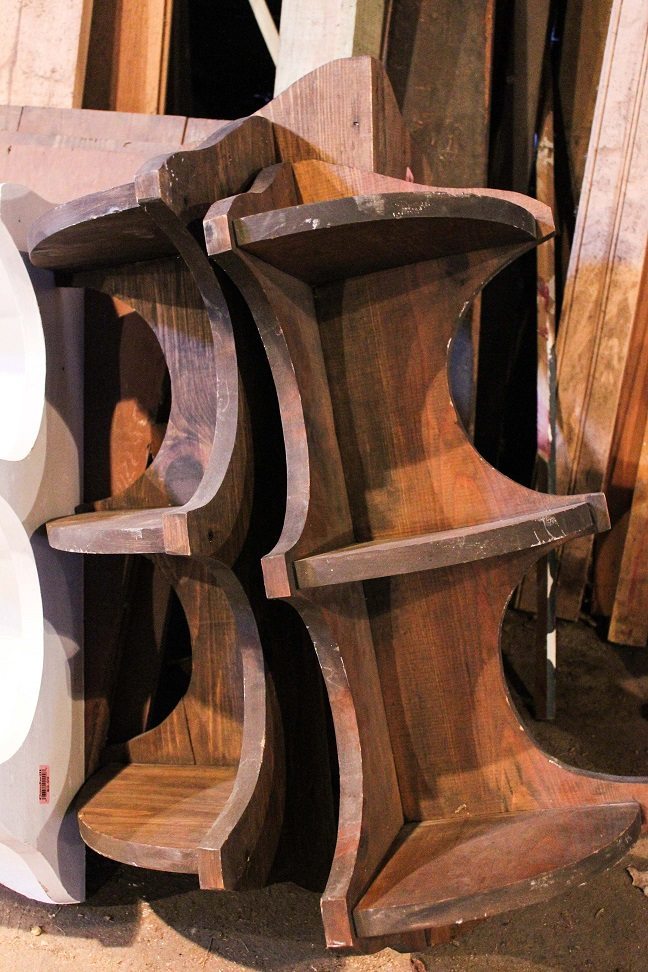 Of the four shelves, one was painted; the other three had a stain finish. Although all four shelves are the same size and shape, they are obviously handmade (maybe a shop class project?) so not an identical match. But that’s okay.
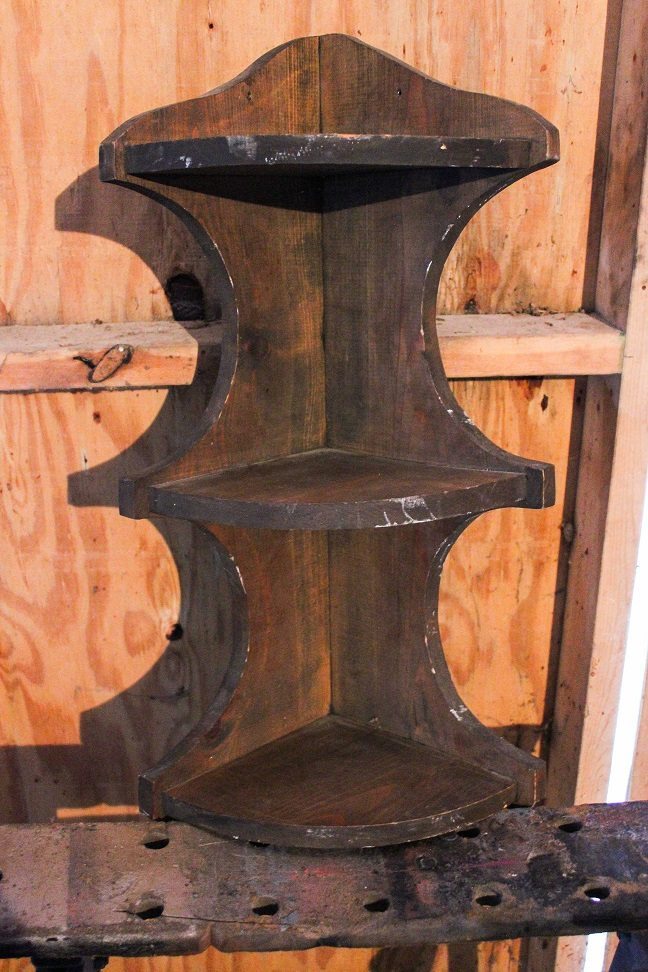
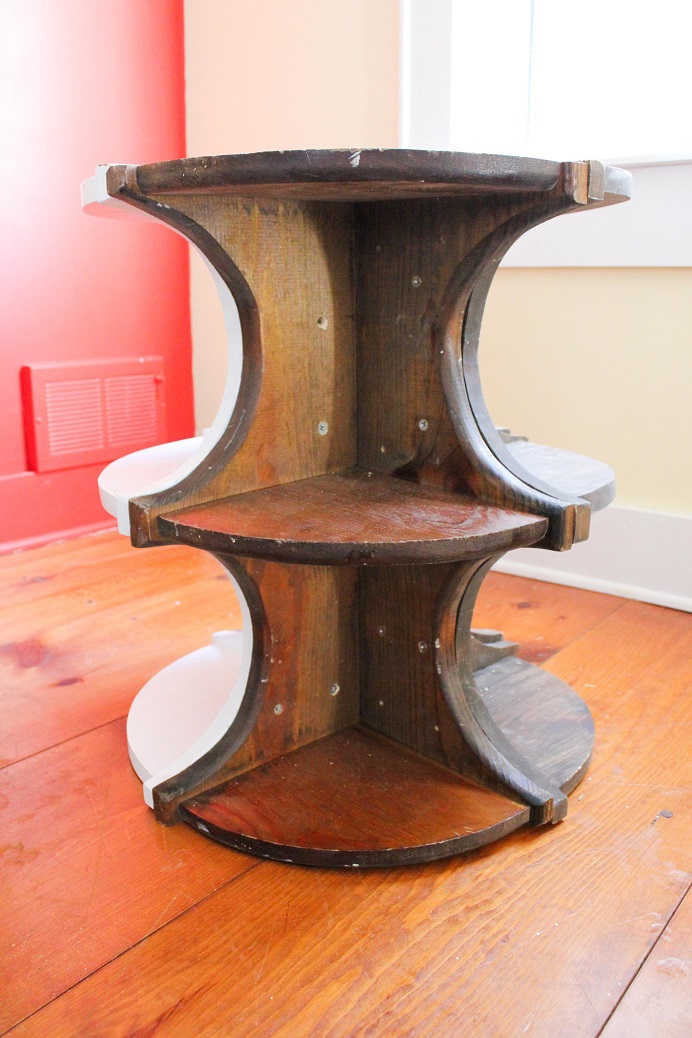
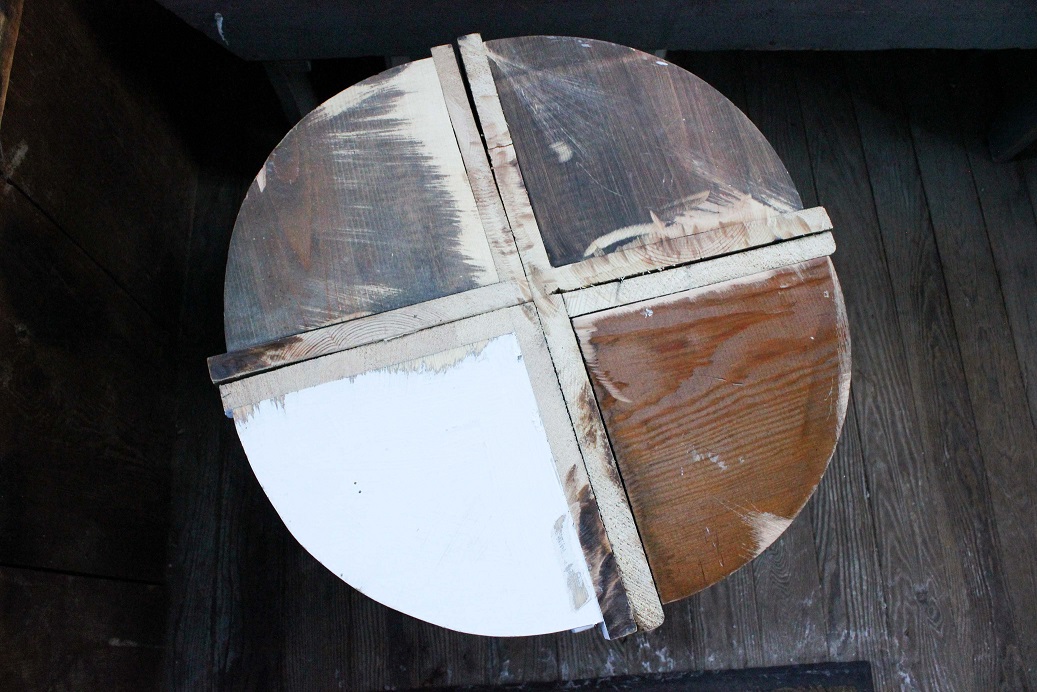 In order for the table to sit flat on the floor and have a flat top, I cut off the curved top and bottom pieces with a power saw. After screwing the four shelves together, I used an orbital sander to smooth out the top and bottom.
 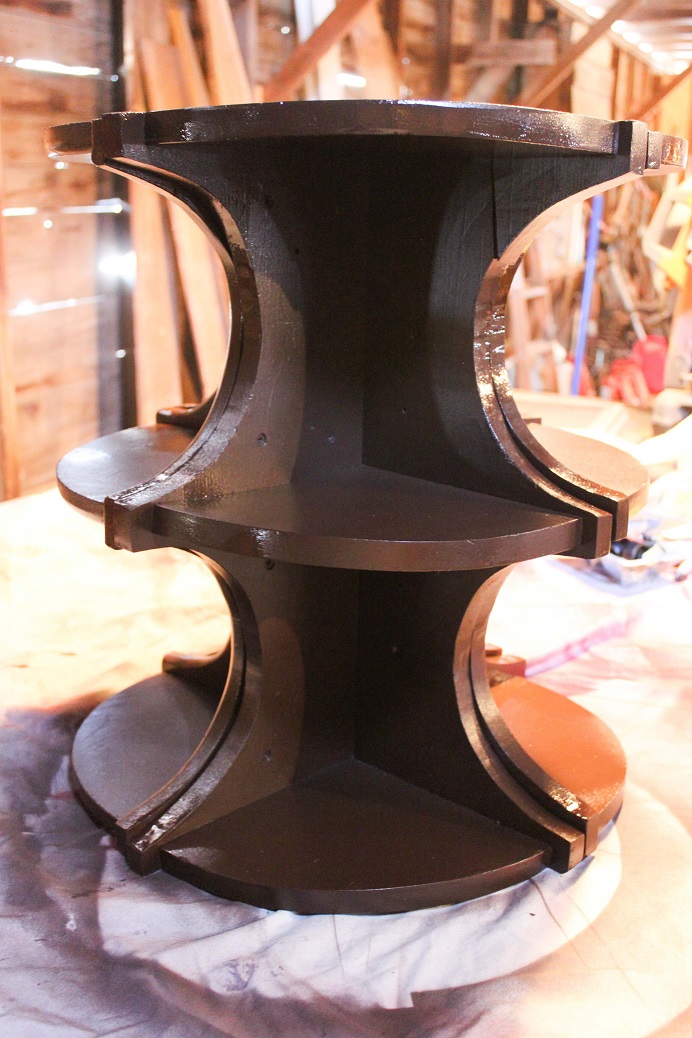 I knew the table wouldn’t be perfect, so I spray painted it in satin espresso. A gloss finish or bright color would just highlight the flaws. Keep that in mind when painting anything, including walls. Imperfections are less noticeable when painted with a flat or egg shell finish!
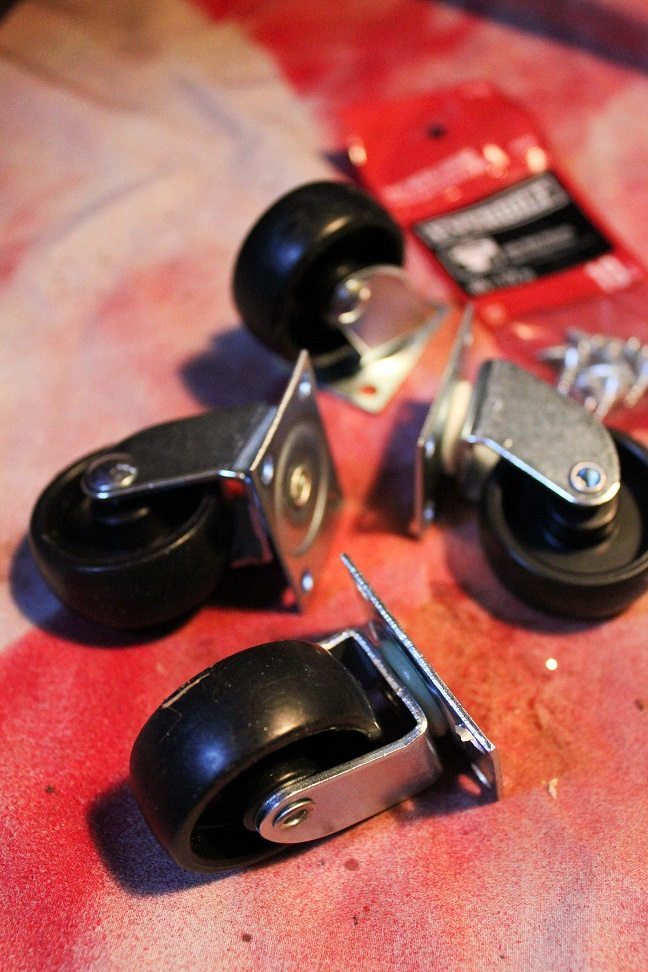
 I often rearrange my porch furniture depending on the weather or the number of guests, so wheels make moving furniture around a cinch. I purchased a package of four wheels and screws and attached them to the bottom. Pre-drilling holes makes adding the screws easier.
 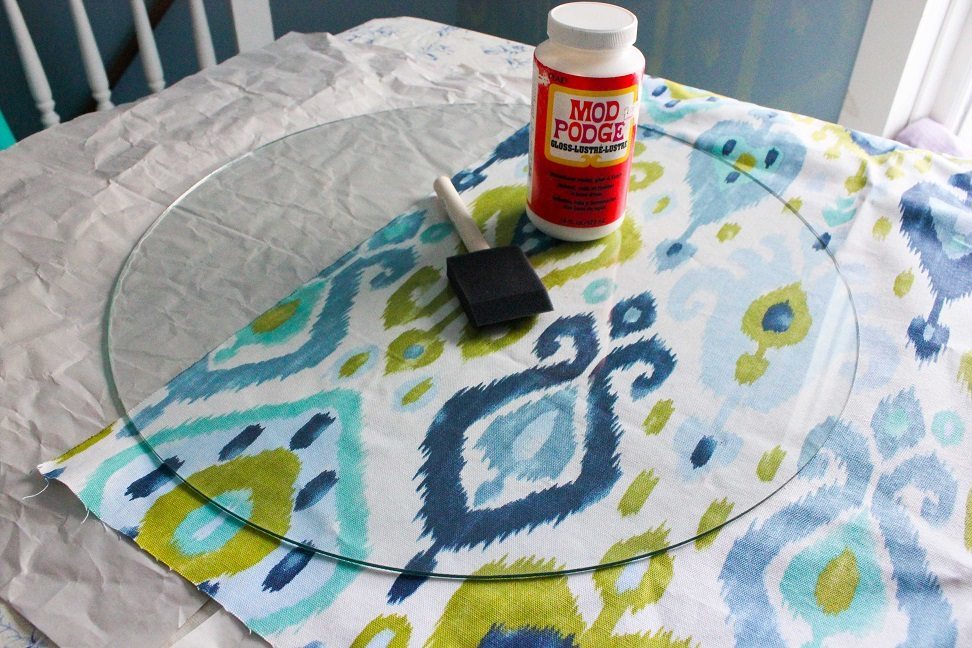 I also knew the top would need to be covered up. I had a 20 in. round glass table topper that fit perfectly. Since I’ll use the table on my porch this summer, I used a piece of fabric left over from upholstering some chairs. It’s an ikat pattern – a dying process that’s been around for centuries, and has seen a resurgence in popularity in recent years.
 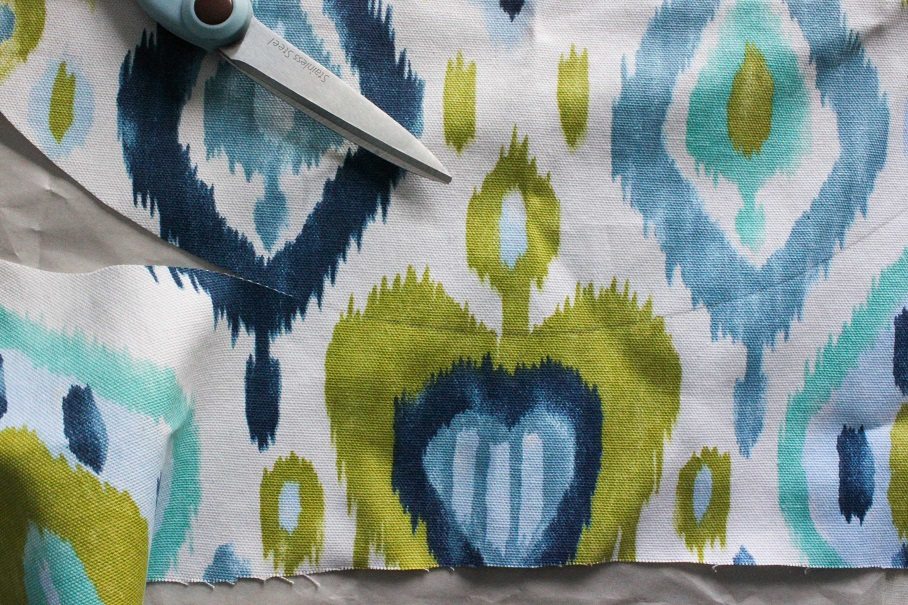 After ironing the wrinkles out, use the glass top to trace the shape on the fabric.
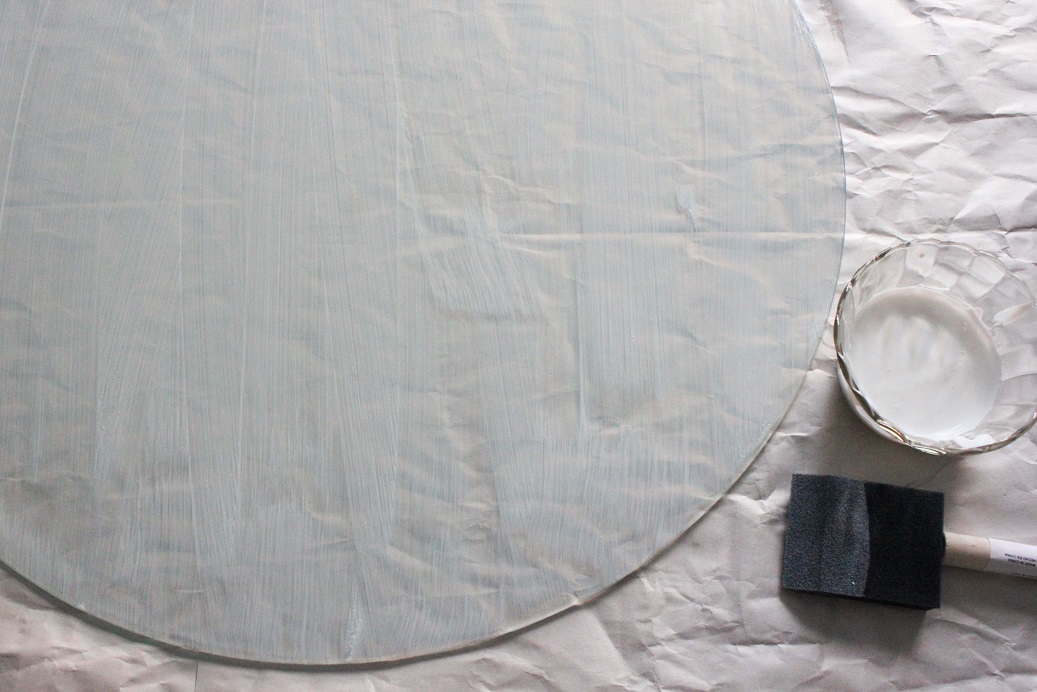
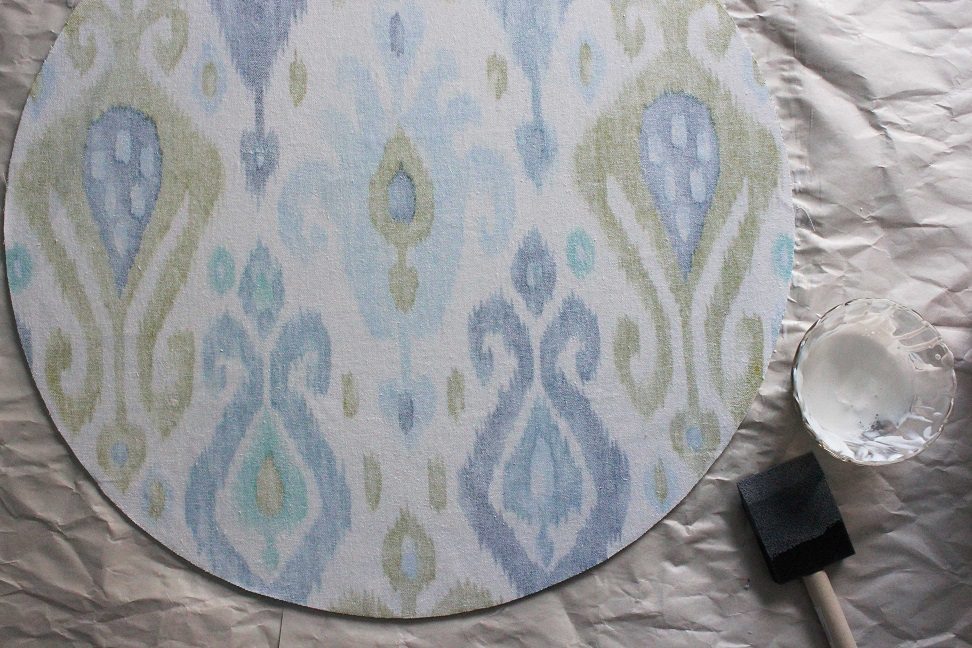 You will need a sponge brush and Mod Podge Decoupage glue. Wash the glass and allow it to dry. Spread two coats of Mod Podge on the entire surface. Immediately lay the patterned side of the fabric on the glass. Apply three coats of Mod Podge to the unpatterned side fabric and let it dry.
 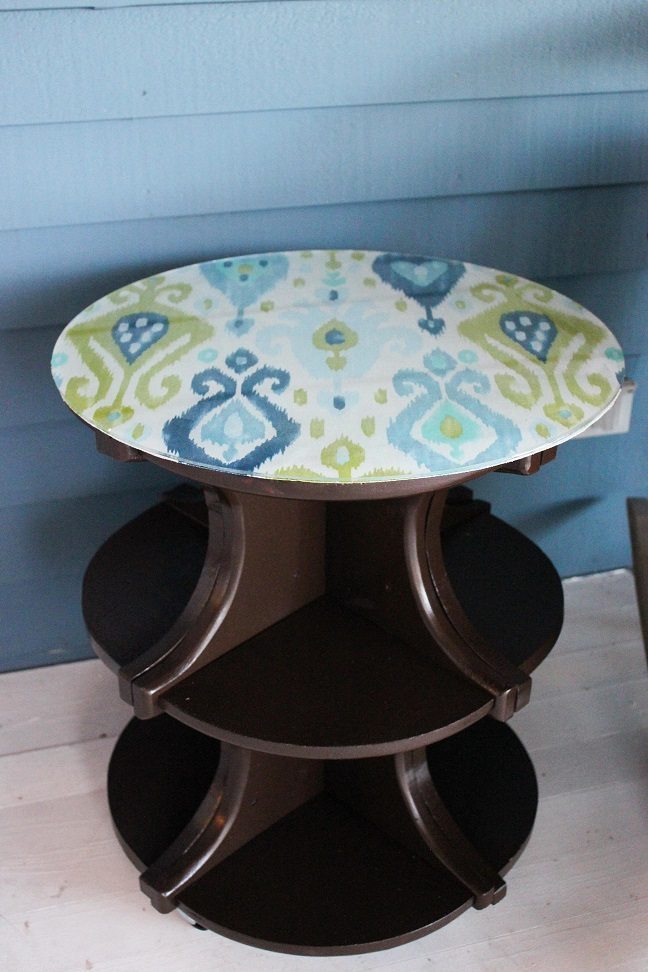 Lay the glass top on the table. Since the fabric is on the underside, it is protected from the elements and spills.
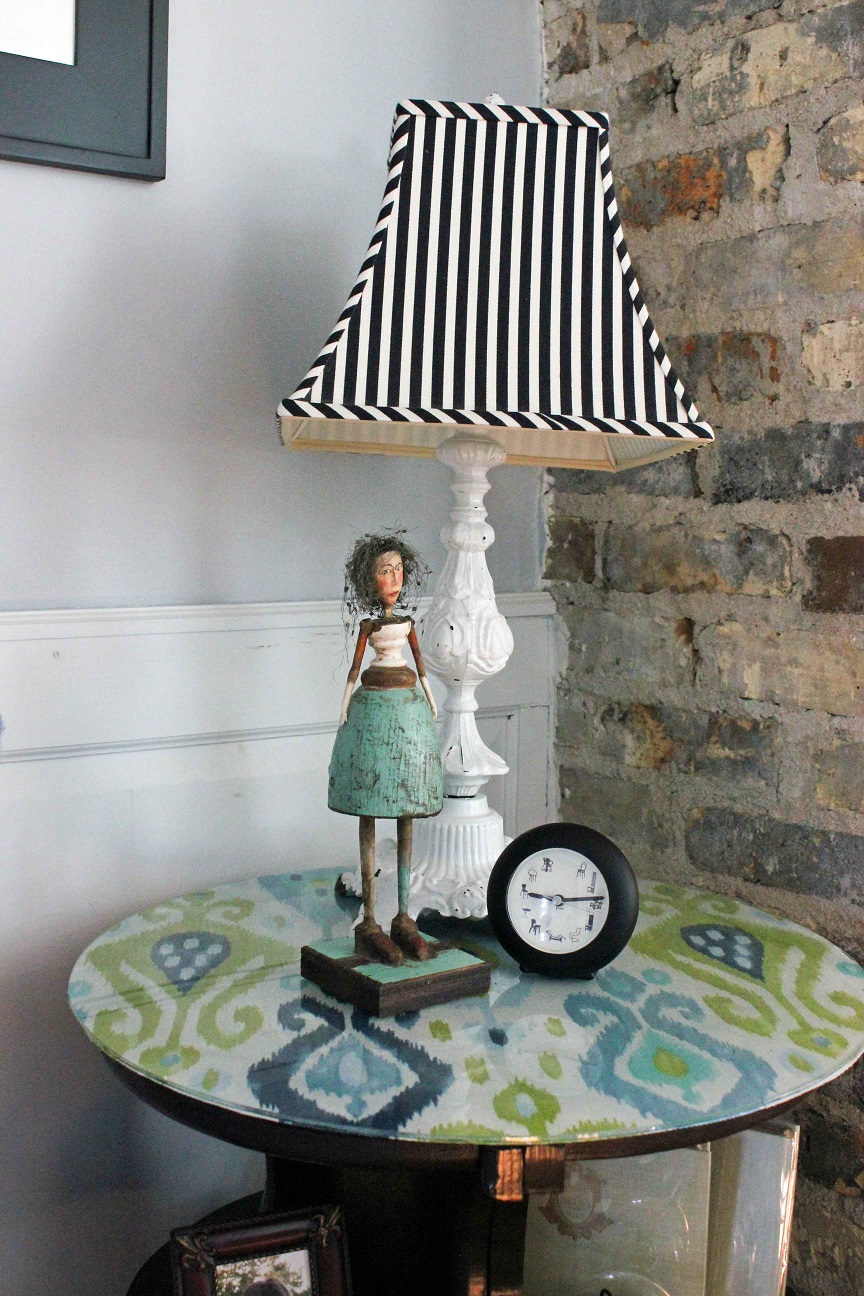 With the final finished project, I have lots of space for displaying and arranging books and collectibles, plus a lamp and a cool drink for spring evenings on the porch. Interior designer Merri Cvetan writes about home décor, as well as her DIY furniture craft projects, for The Home Depot. Merri’s design career began after she bought a 1890s farm house fixer-upper, which is now her family’s home. To view Home Depot’s Home Decorators Collection of outdoor furniture, including porch items, click here.


Join the Conversation