Happy Earth Day! Goodwill Industries of the Southern Piedmont is excited to celebrate our beautiful planet and support environmental sustainability today and every day. DIY projects from Goodwill finds are a great way to recycle pieces and give something a “second life.” Our friend Emily at the blog Our House Now a Home completed a fun and easy refurbishment project that saved a useable chair from the landfill.  Chair Redo Tutorial – No Sewing Needed By Emily Burmeister, Our House Now a Home Today I am sharing a DIY project about a chair I redid for my daughter Nora’s room. Total hours spent was maybe one…one whole hour. That is it! I found this chair on the side of the road with a lovely “free” sign attached to it. I could not believe my luck. I was actually on my way to go chair hunting to look for a chair exactly like this. Now when I found it, it was not this adorable pink chair. It was…well ugly, old, worn and in need of love. But a really sturdy chair. I think the people who put it out could not see the appeal. I hope to reach all of those people eventually so no more chairs are down on their luck in a dumpster or on the side of the street anymore. One chair at a time! I don’t know if this was for sale in a rummage sale at one point because it had a price of $4.99. I would have paid that too! I like wildlife and birds, but this cushion is a little too rustic for me…and that is saying something.
 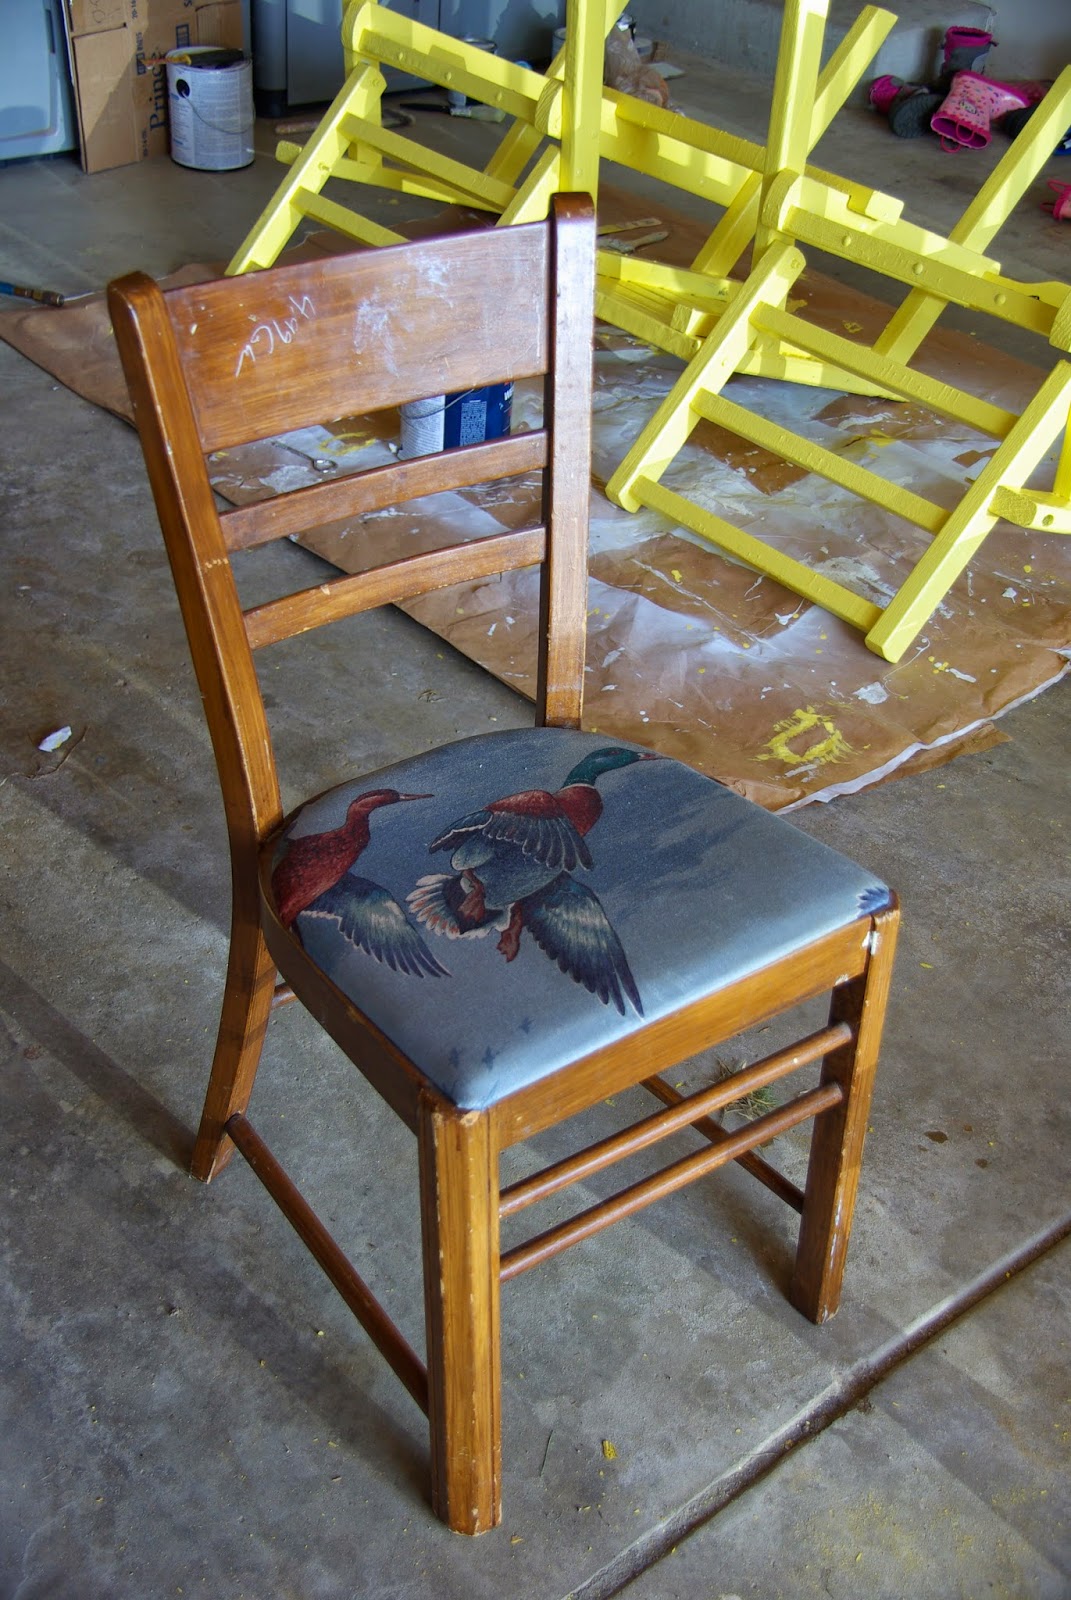 So first on this chair redo list would be to take off of the cushion so I can paint. It is really simple – there are some screws under the bottom of the seat itself that you unscrew and take out. Done!
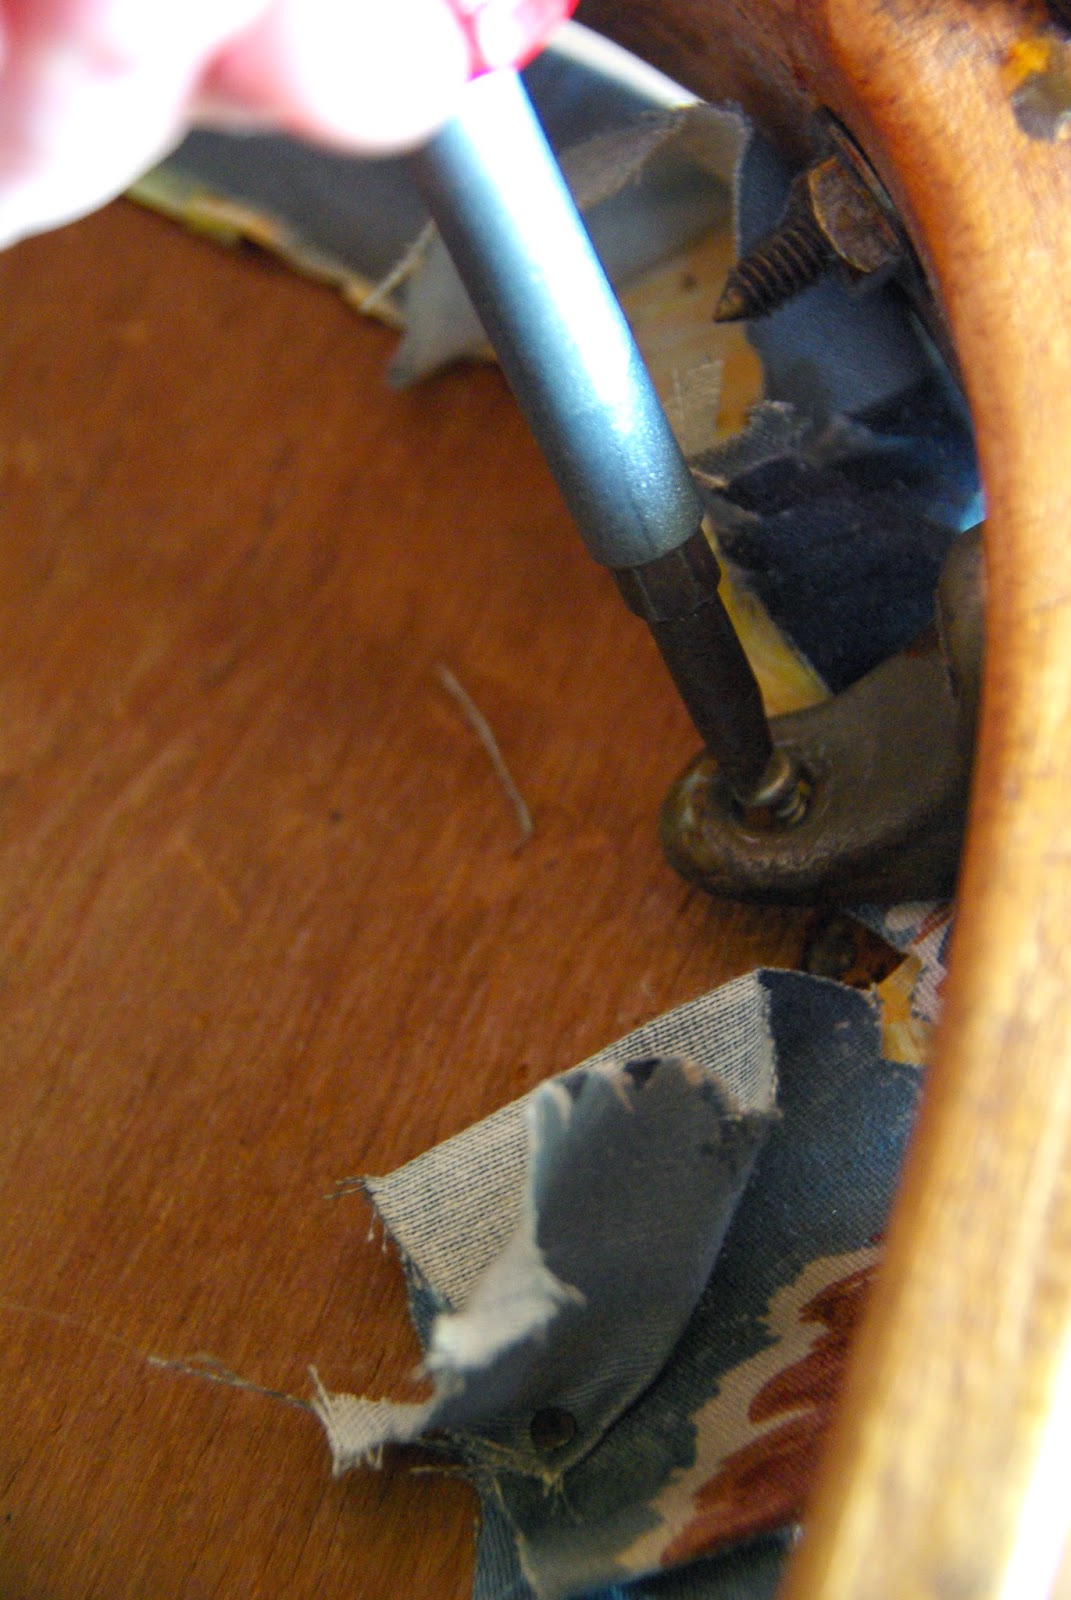
 Next comes the sanding. I always rough-up wood furniture pieces a little. It allows the paint to stick to the chair much better with a smaller chance of it coming off so soon. Of course it is painted wood. It will need to be touched up, but sanding helps it last a little longer. I never go crazy with sanding, just enough to make it feel slightly rough. To know if the sanding is done, a good gauge for one is to feel it. It should be rough enough to not feel the smooth, glaze finish that was on it. And it should be dusty and scratched up. I always have to fold the sandpaper over to get into the corners. Otherwise it can be tough to get in there. And the corners will not be sanded properly otherwise. Be sure to get it all sanded.
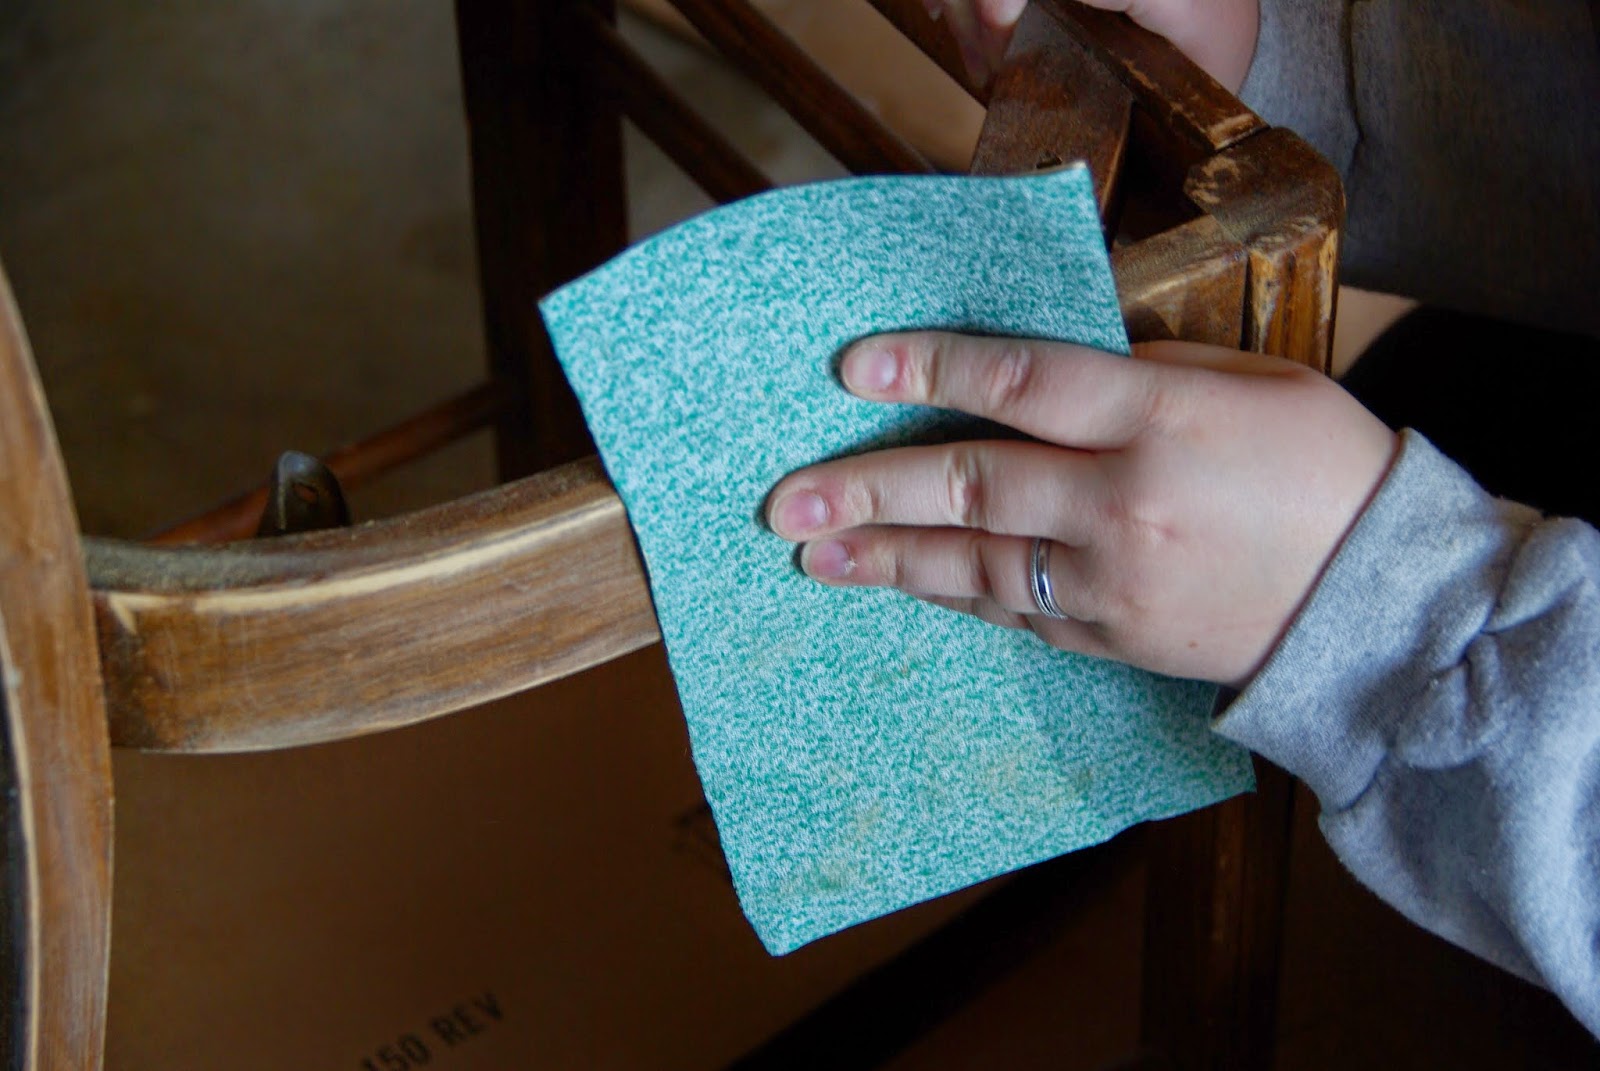
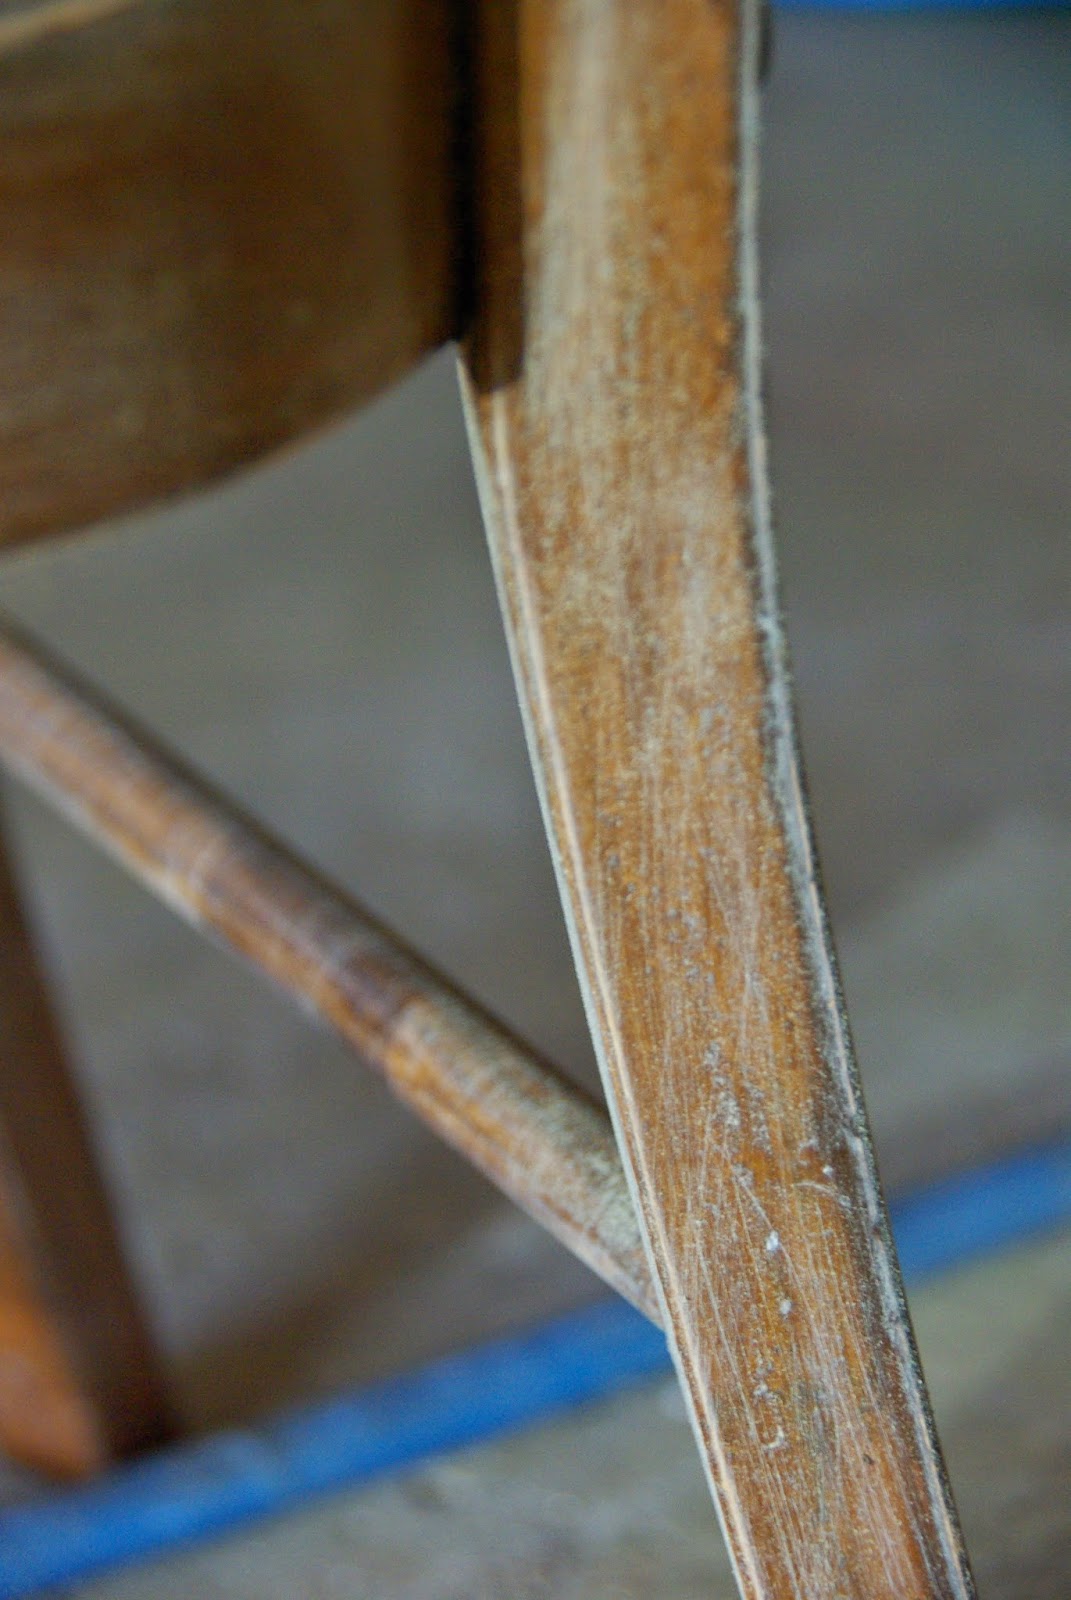 The sanding was done – notice the scratched and dusty appearance. That would mean it is enough to have the paint stick to the surface. I scrubbed off any glazing or finish. Now for the painting – the fun part. The one you get results with. We used a very bright pink spray paint. It is a Rust-Oleum gloss in Berry Pink. And it is berry, very pink. This was my compromise to Nora who wanted her whole room painted in this very pink, pink. I would give her other things in this pink, but not the walls. Re-doing furniture when she is over pink is a lot quicker than a whole new wall color. When spray painting, I always go from side to side lightly painting the surface. Keep in mind always with spray painting that more than one coat will and should be needed. The first coat will have a lot left to be seen. Go slowly from one side to the other. If you get too close to the chair or put too much paint on at first, you will get running paint. The spray paint can should be at least 6 inches away from the piece you are painting. This is to prevent it from getting layered on and dripping. I did one coat, let it dry and then did one more coat. It usually does the trick quite well.
  So while the second coat of paint dried, I went to work covering the chair cover, getting rid of ducks and adding some bugs. I used a leftover curtain that I bought from Goodwill a while ago. I found these great curtains for my daughter’s room – Pottery Barn brand, still in the package for $5.00 at Goodwill. I used two for her room, but there was another one I bought, not sure at the time what my intention would be for it. Well it turns out I intended to use it for her chair. I started by laying out the curtain. It is much longer than the cushion, so I set the cushion on top of it to determine how much fabric I would need. It was a little over twice the size of the cushion. I left 2 inches of fabric on the side of the cushion. This allows the fabric to be folded over onto the cushion so you have material to nail it into the cushion itself on the underside. It is a fairly thin cushion, so not much was needed to fold over the side. Always double-check and fold the edge over before cutting just to make sure. Especially if you have limited fabric. I have enough leftover to sew a pillow, which is awesome.
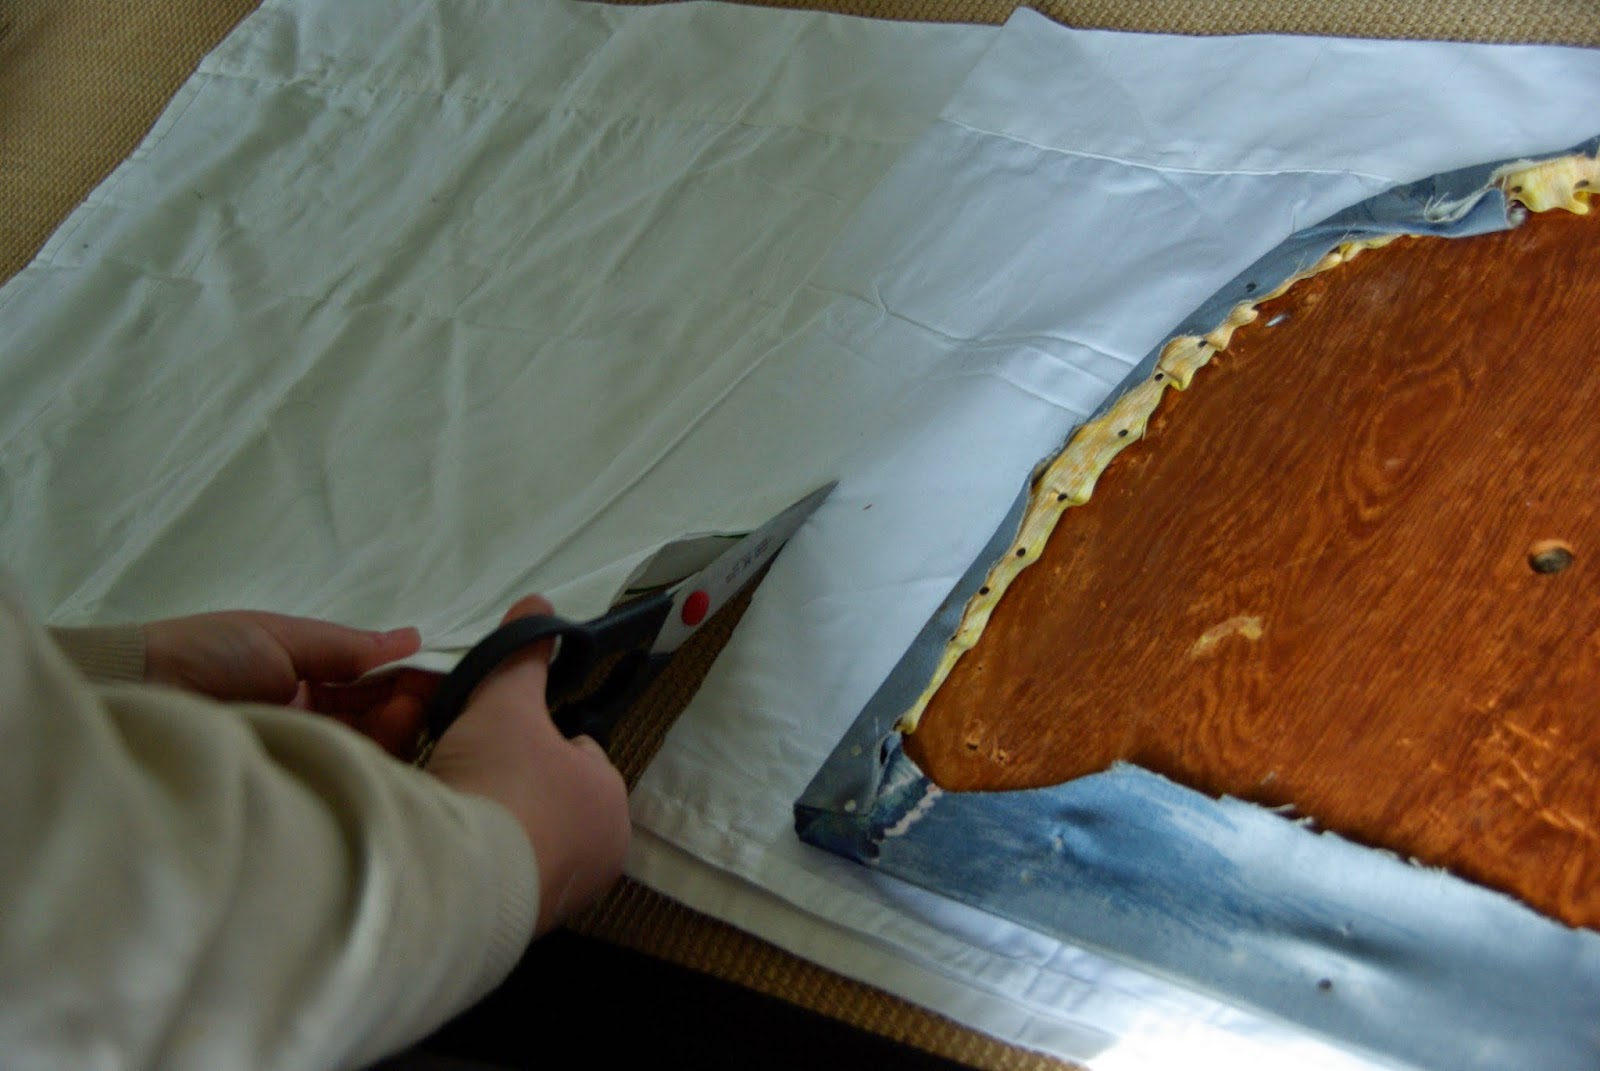
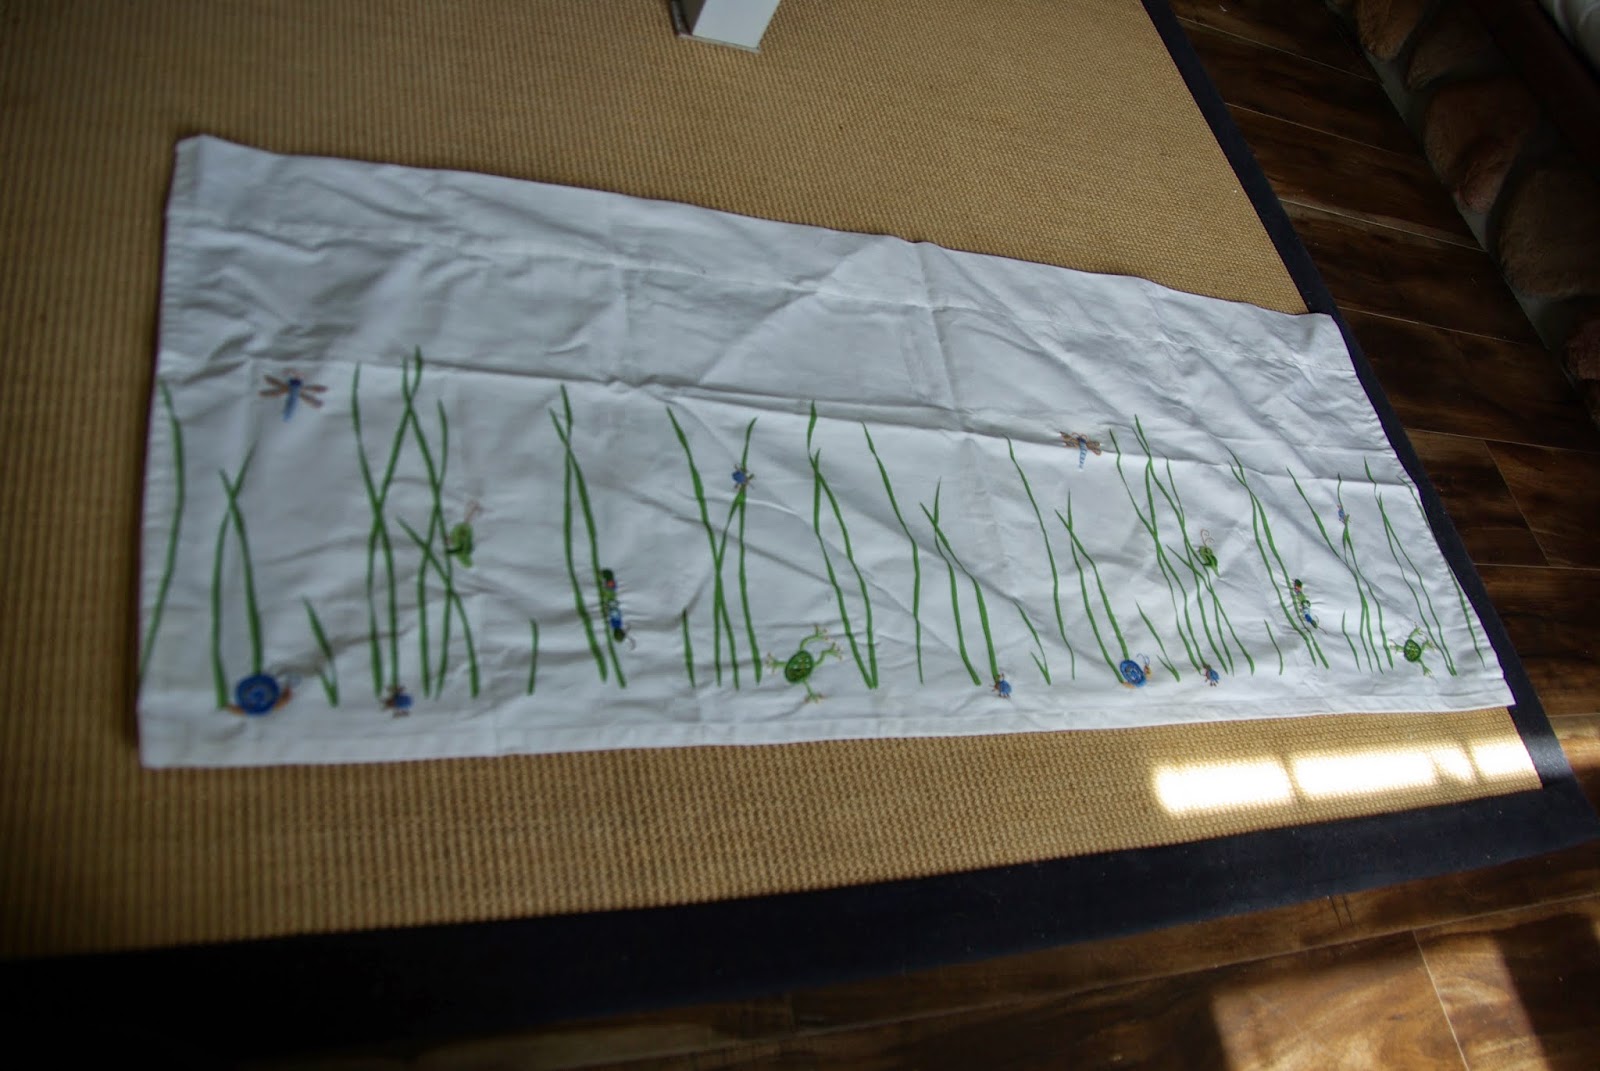

 Now the folding of the fabric and the stapling. This is a fairly pain-free endeavor. To fold onto the bottom of the cushion, I always start on the straight side. Pull the fabric snug, but not too tight and use a staple gun to attach the fabric going down the row. Hold down and use a staple gun to punch the staple in, putting in one staple about every 3 inches or so. There should be no lifting of the fabric between staples. If there is, just throw in another staple. You will hate it later if you choose to put on different fabric and have to pull out the one million staples, but here and now and this particular project…staple away! The one tricky part is the corners and curved edge. The corners needs a little more attention. I simply take the already nailed in straight side and hold tight, smoothing it out. Then the leftover fabric (maybe 2 inches worth) that is on the side of the cushion, I fold over onto itself, example below.
  Folding, and keeping it all neat and tidy while doing it. Keeping it as smooth as possible.
 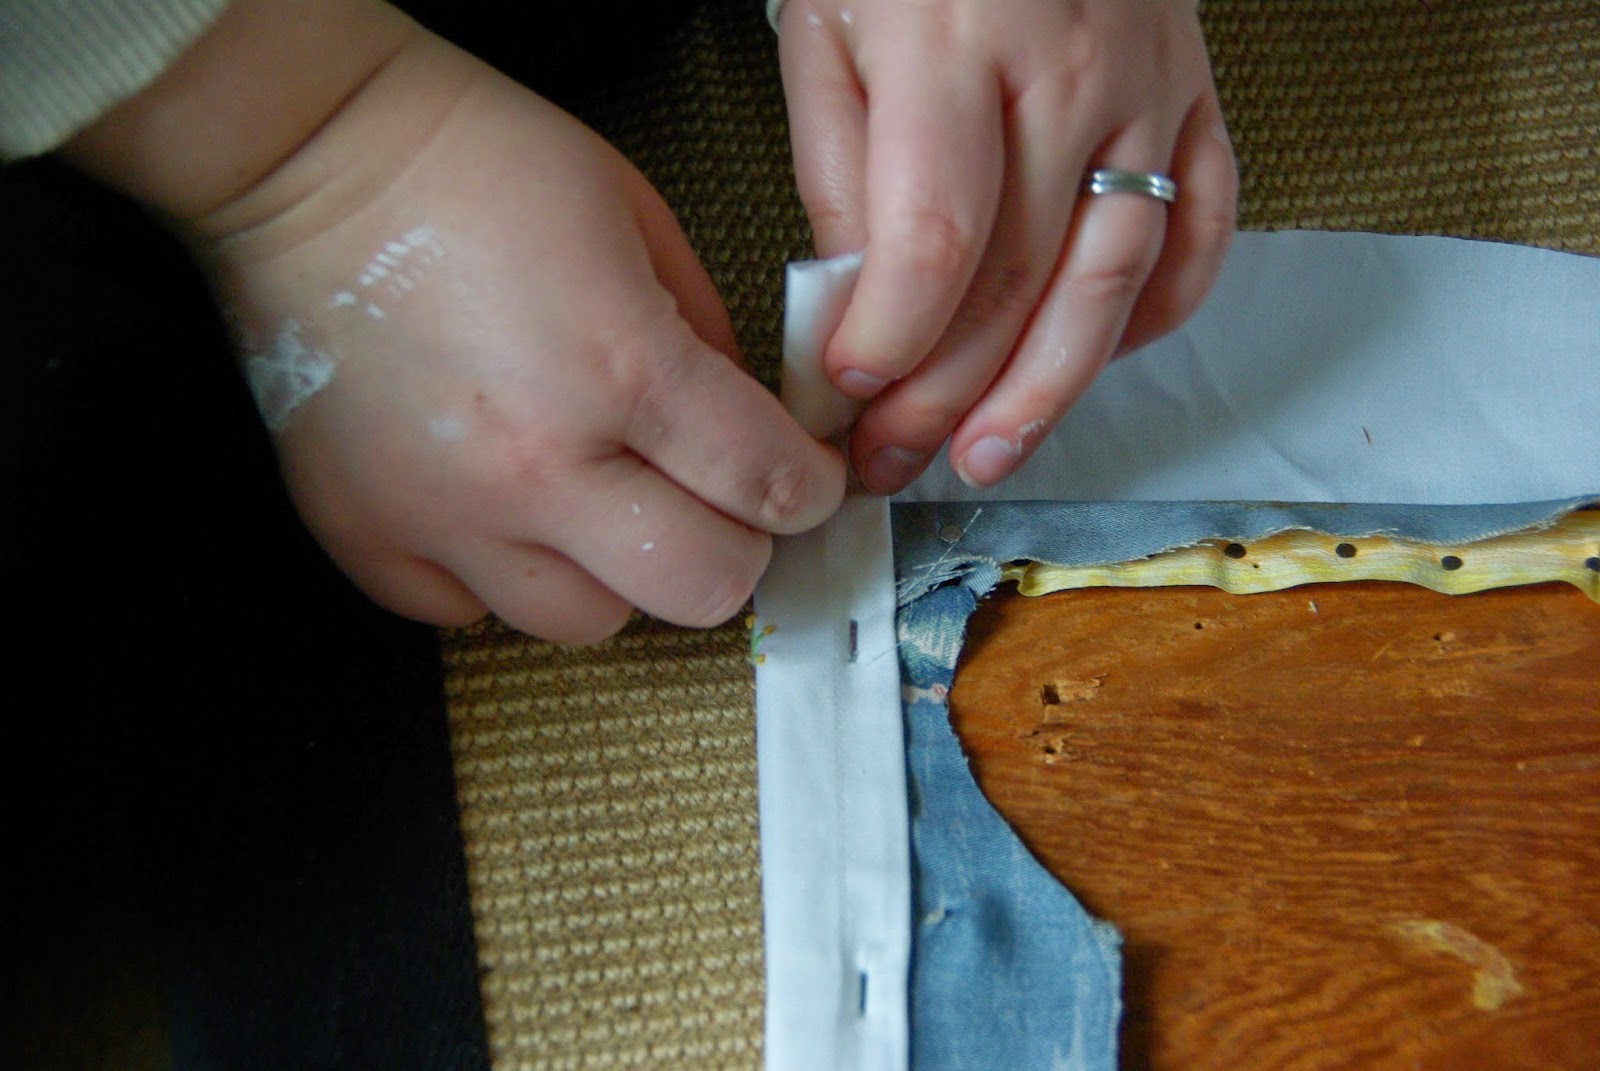 Once it is folded, pull tightly. I always try to keep the folded piece as thin as possible so there are not any gathered or bumpy parts to the side or even under the cushion. You never know how it will lay once done. So the neater the better.
 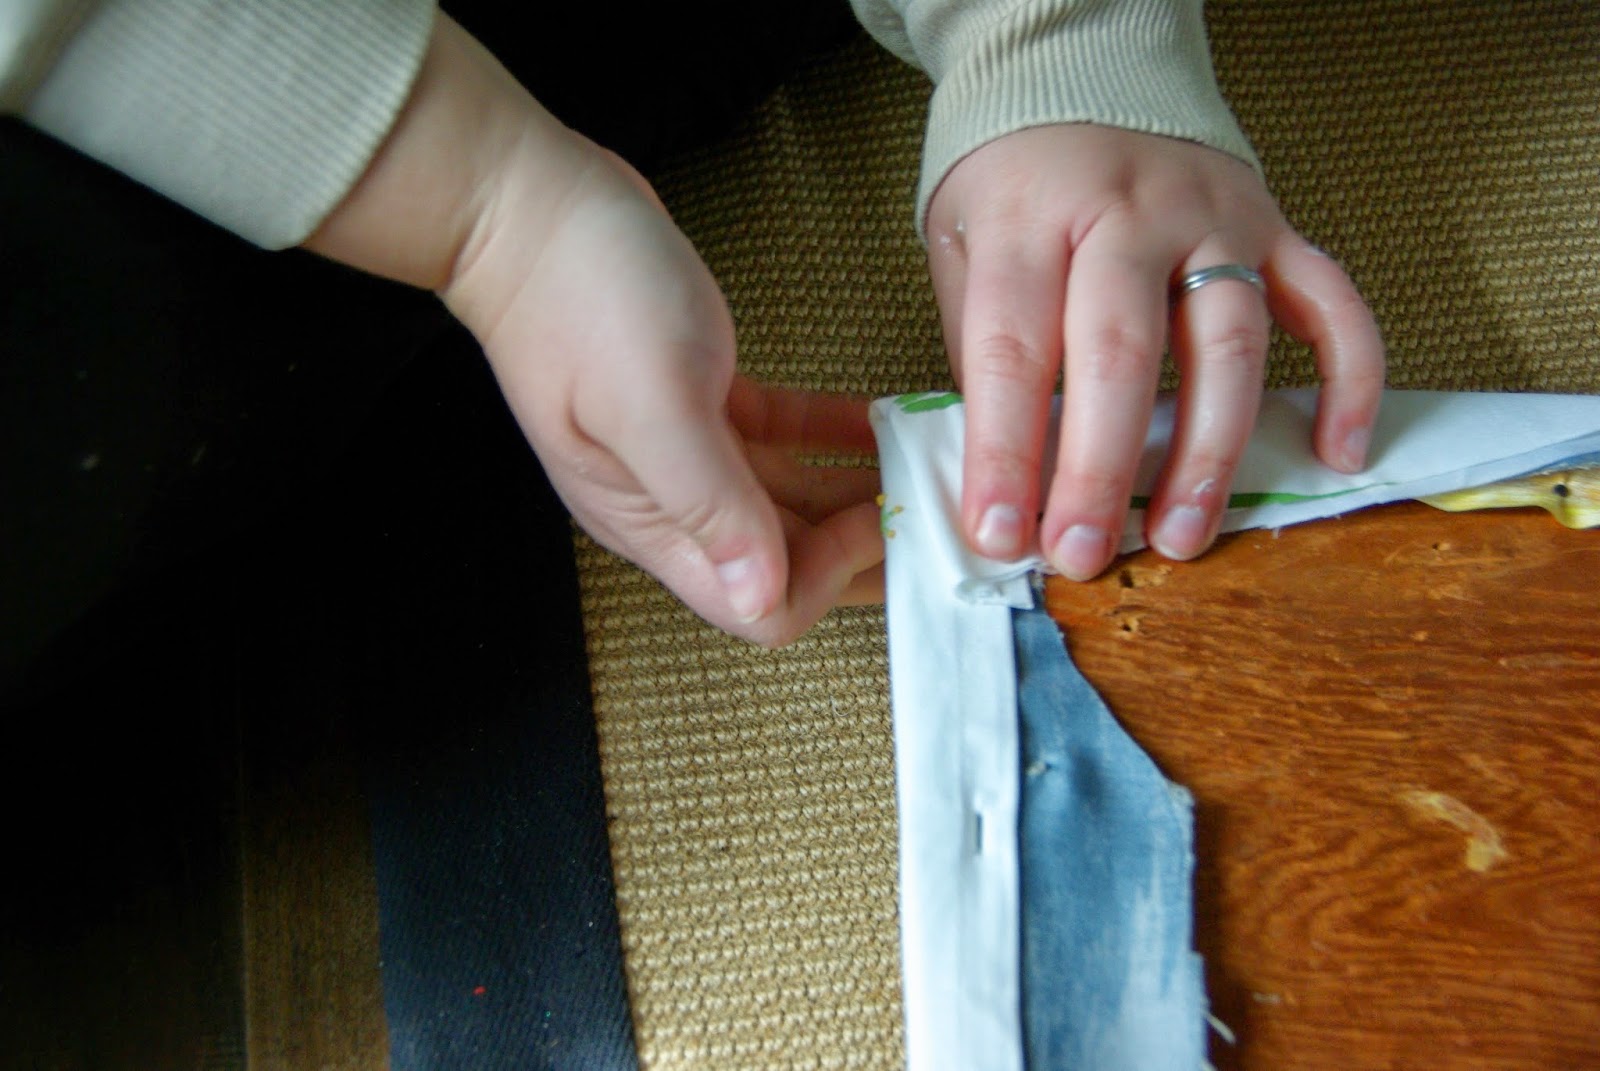 Folding it down tightly, making sure the fabric is not too snug.
 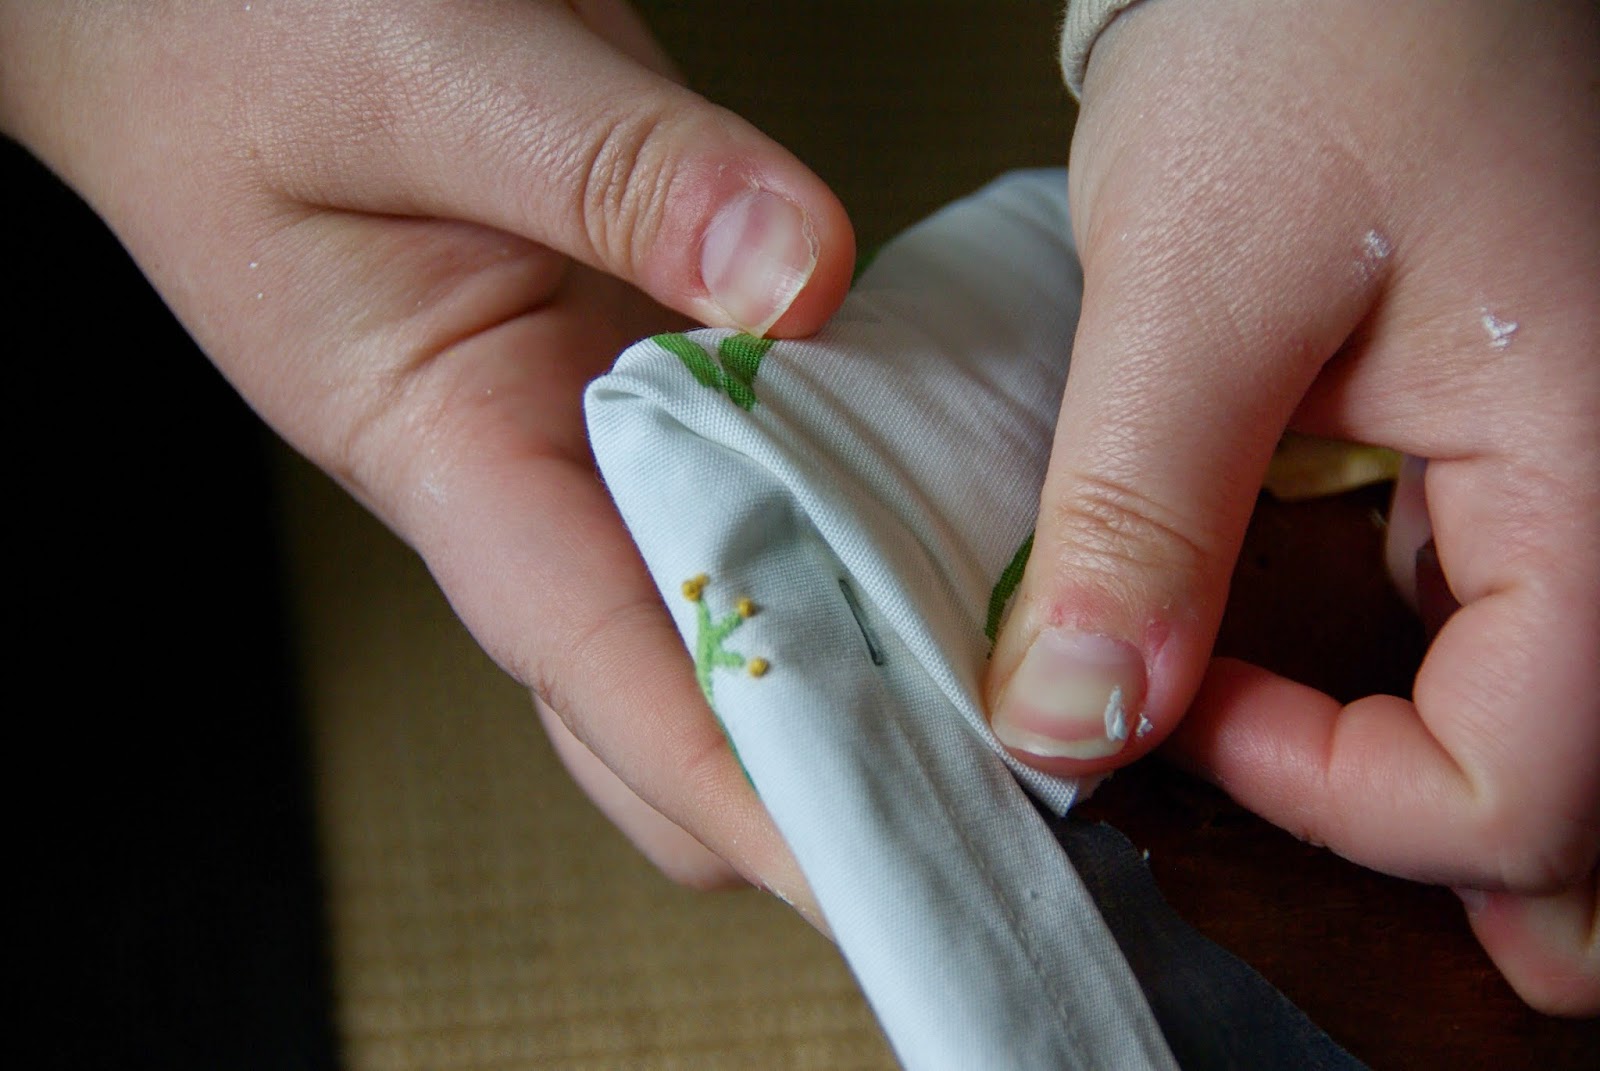 Hold down while a trusty assistant staples, watching closely at the fabric and fingers. The curved edge is what I was worried about. I have done them before, but always with a chair where the curved edge was hidden with the back of the chair. This curved edge is also in the back of the chair, but with little to no back to hide my not-so-neat folds. Time to bring out my folding and stapling skills. I started by just moving the fabric and folding it sporadically to see how it would fold and lay. Once I got a feel for it, I began by folding the piece closest to the already stapled side. Folding the small edge and flattening it down myself. It began to get an appearance of ruching, holding down each fold and moving along the curved edge. Then my husband Dale came in and stapled it down. Always right along the edge, just under the cushion bottom. You can go in after and staple the extra material afterwards so nothing catches.
 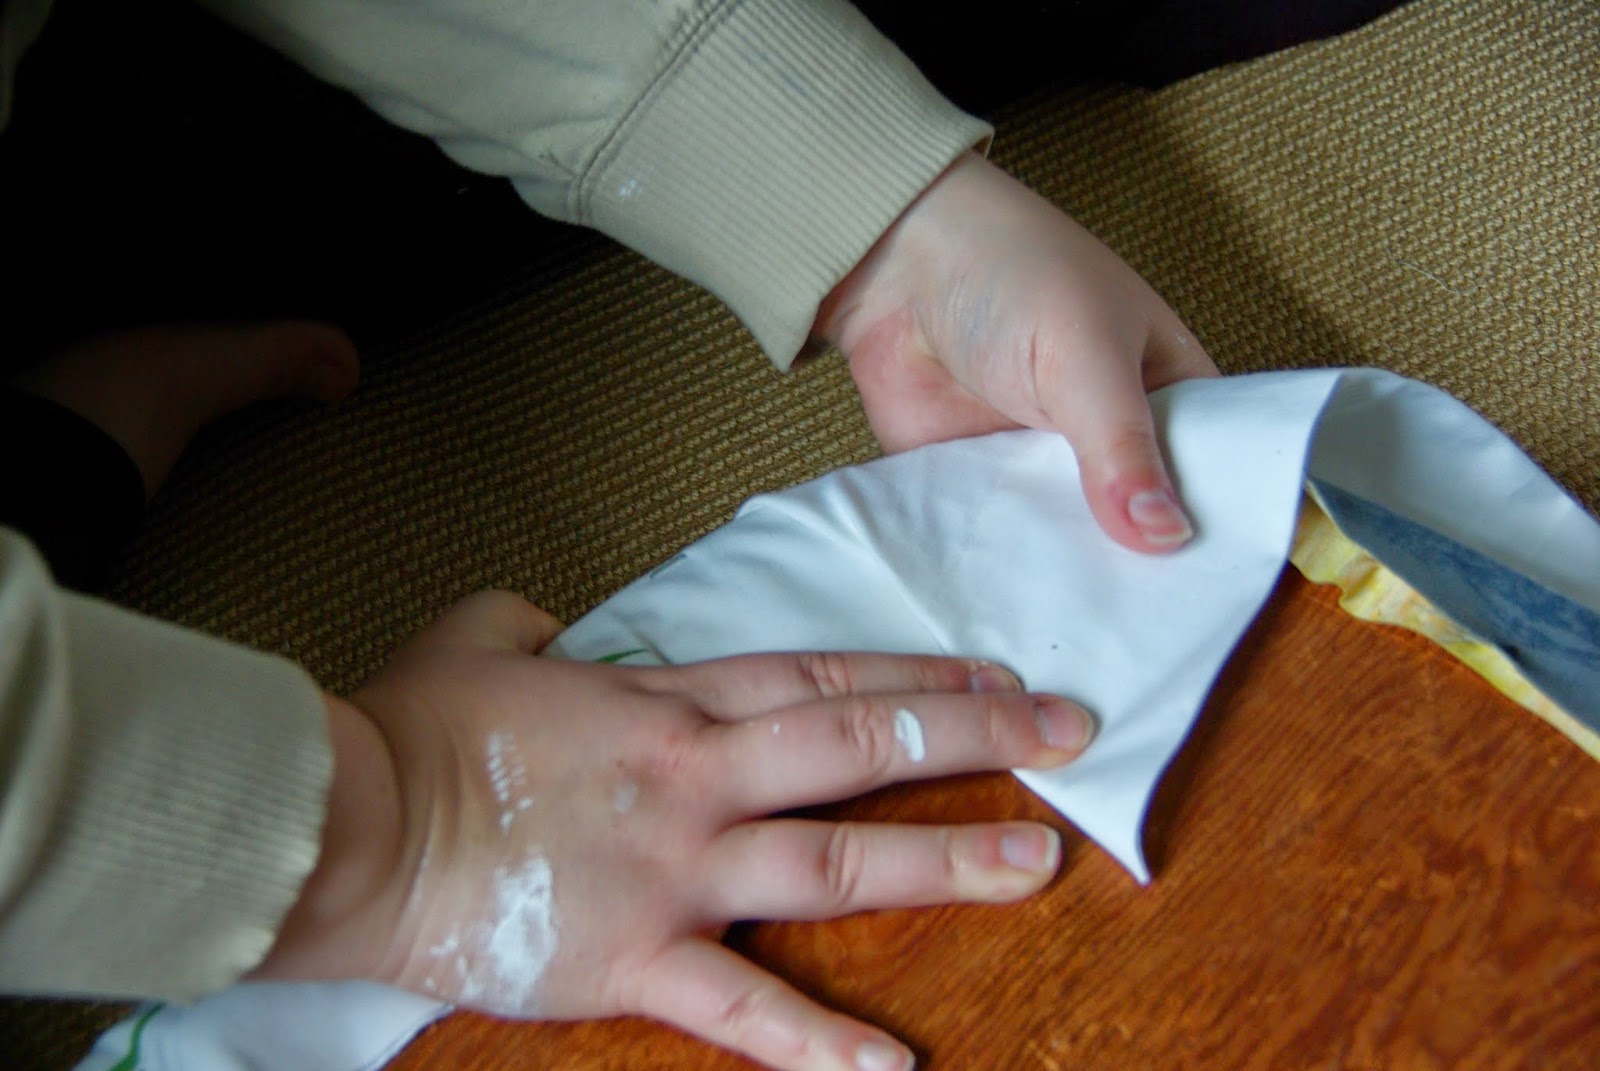 The folding and ruching begins. Keep it tight and clean.
 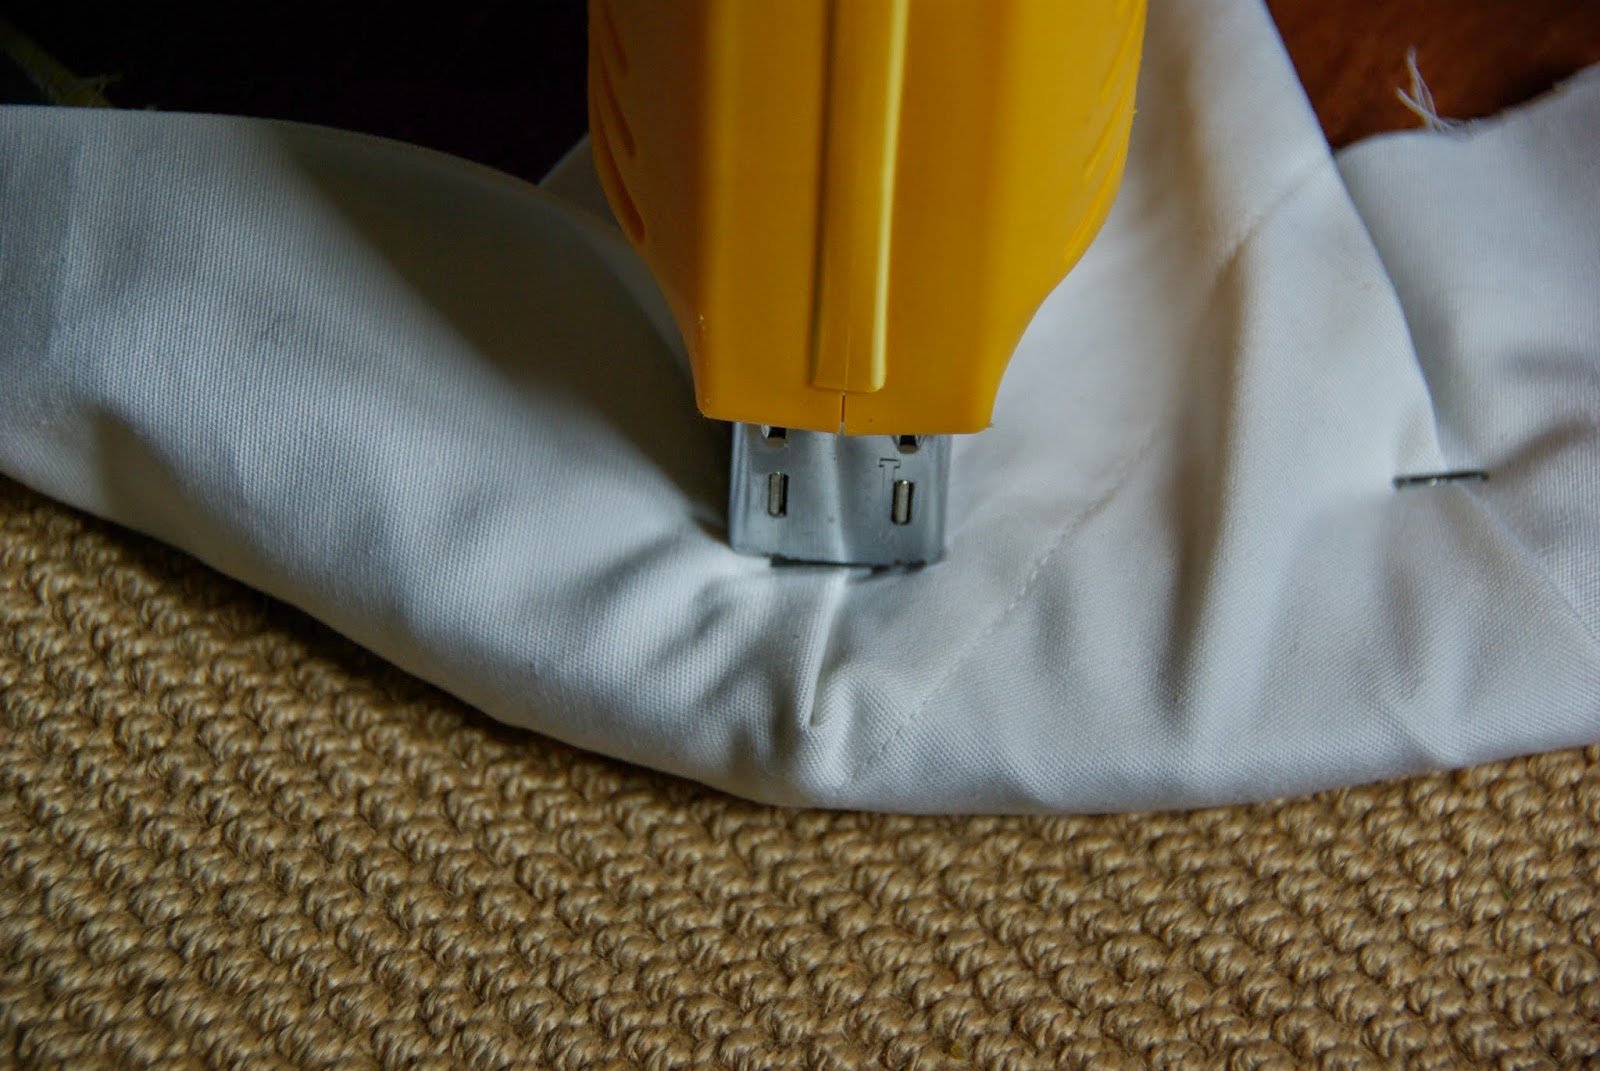 Then I slowly move around the curved edge, pulling, smoothing, tightening and then stapling it down.
 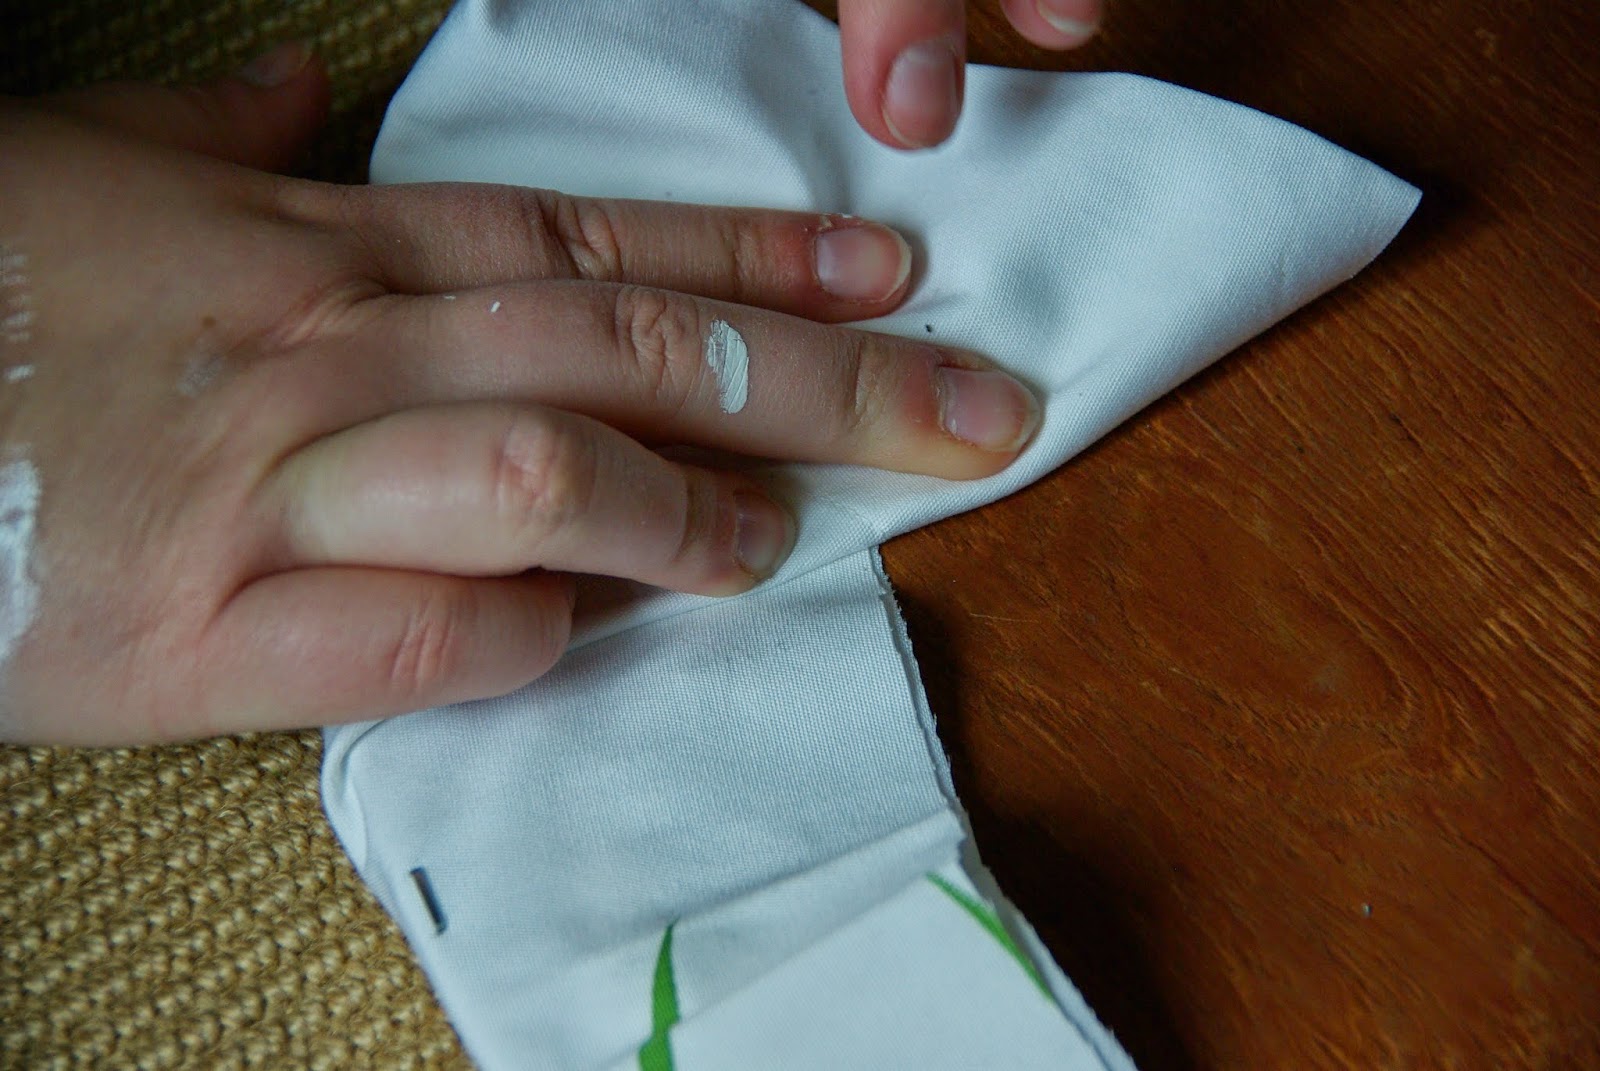 Notice the staple, just at the edge. Also staple over the fold as well to make sure the fold does not come undone.
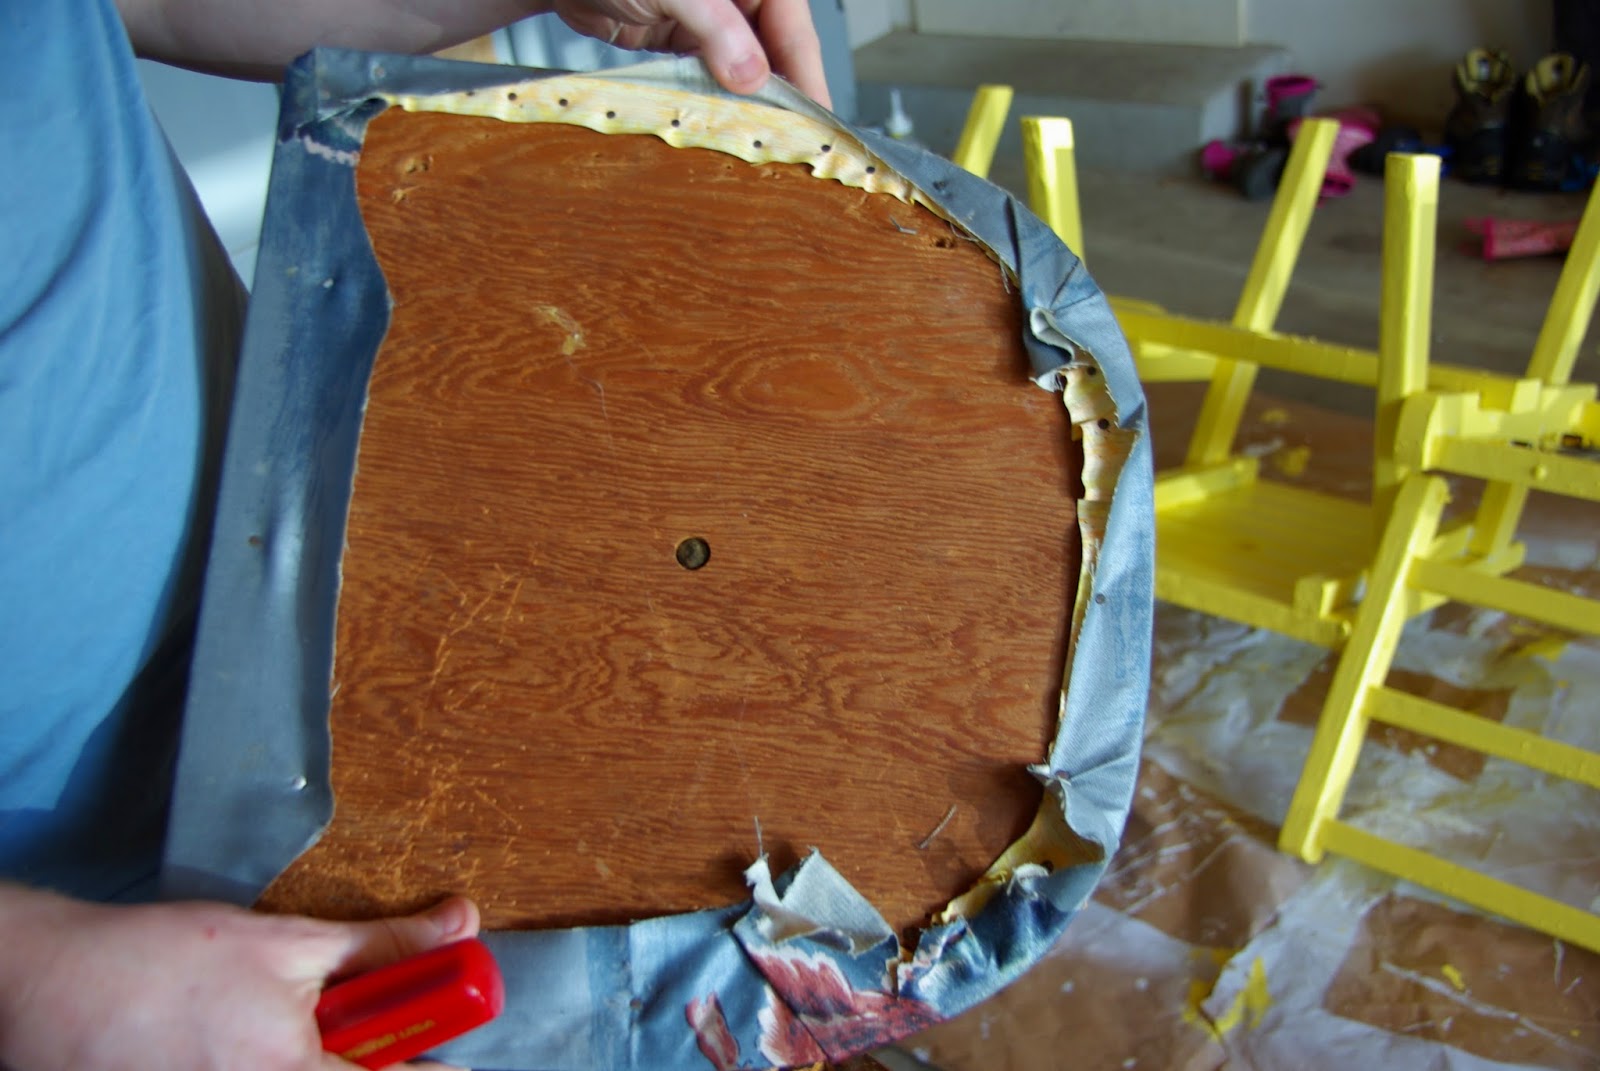
  This shows the staples being put into the fold as well as the flat part. Go staple crazy! Once I was happy with the results, I had a new cushion. It may look sloppy and ugly from the bottom, but nice and pretty on the top where it matters.
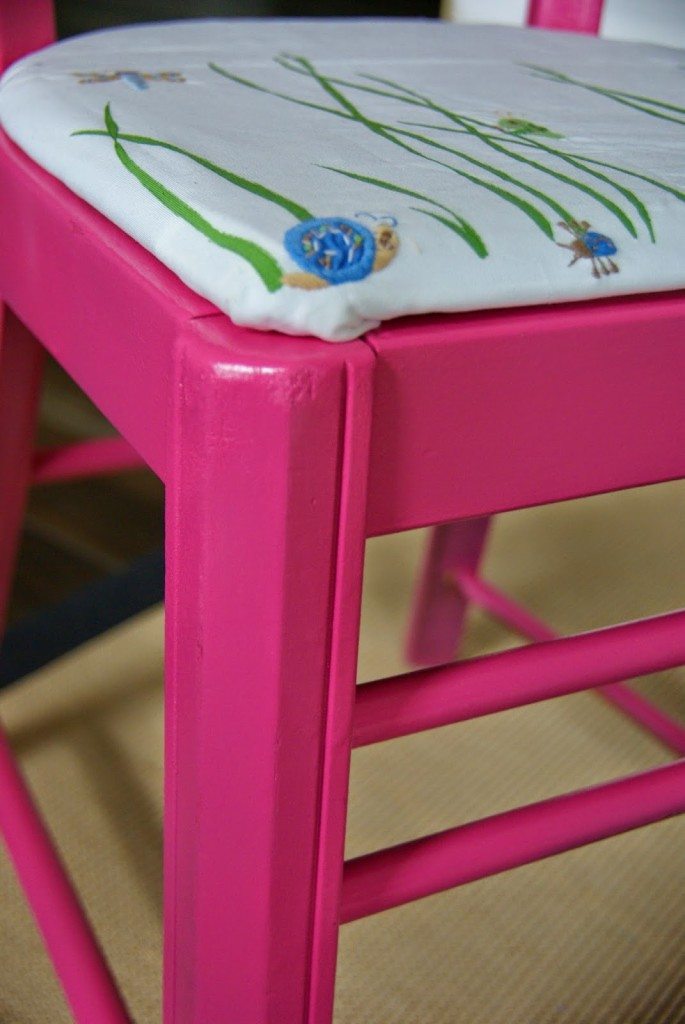
  I should also add when laying the fabric down and before stapling, make sure the fabric is straight on the cushion. No leaning bugs here!
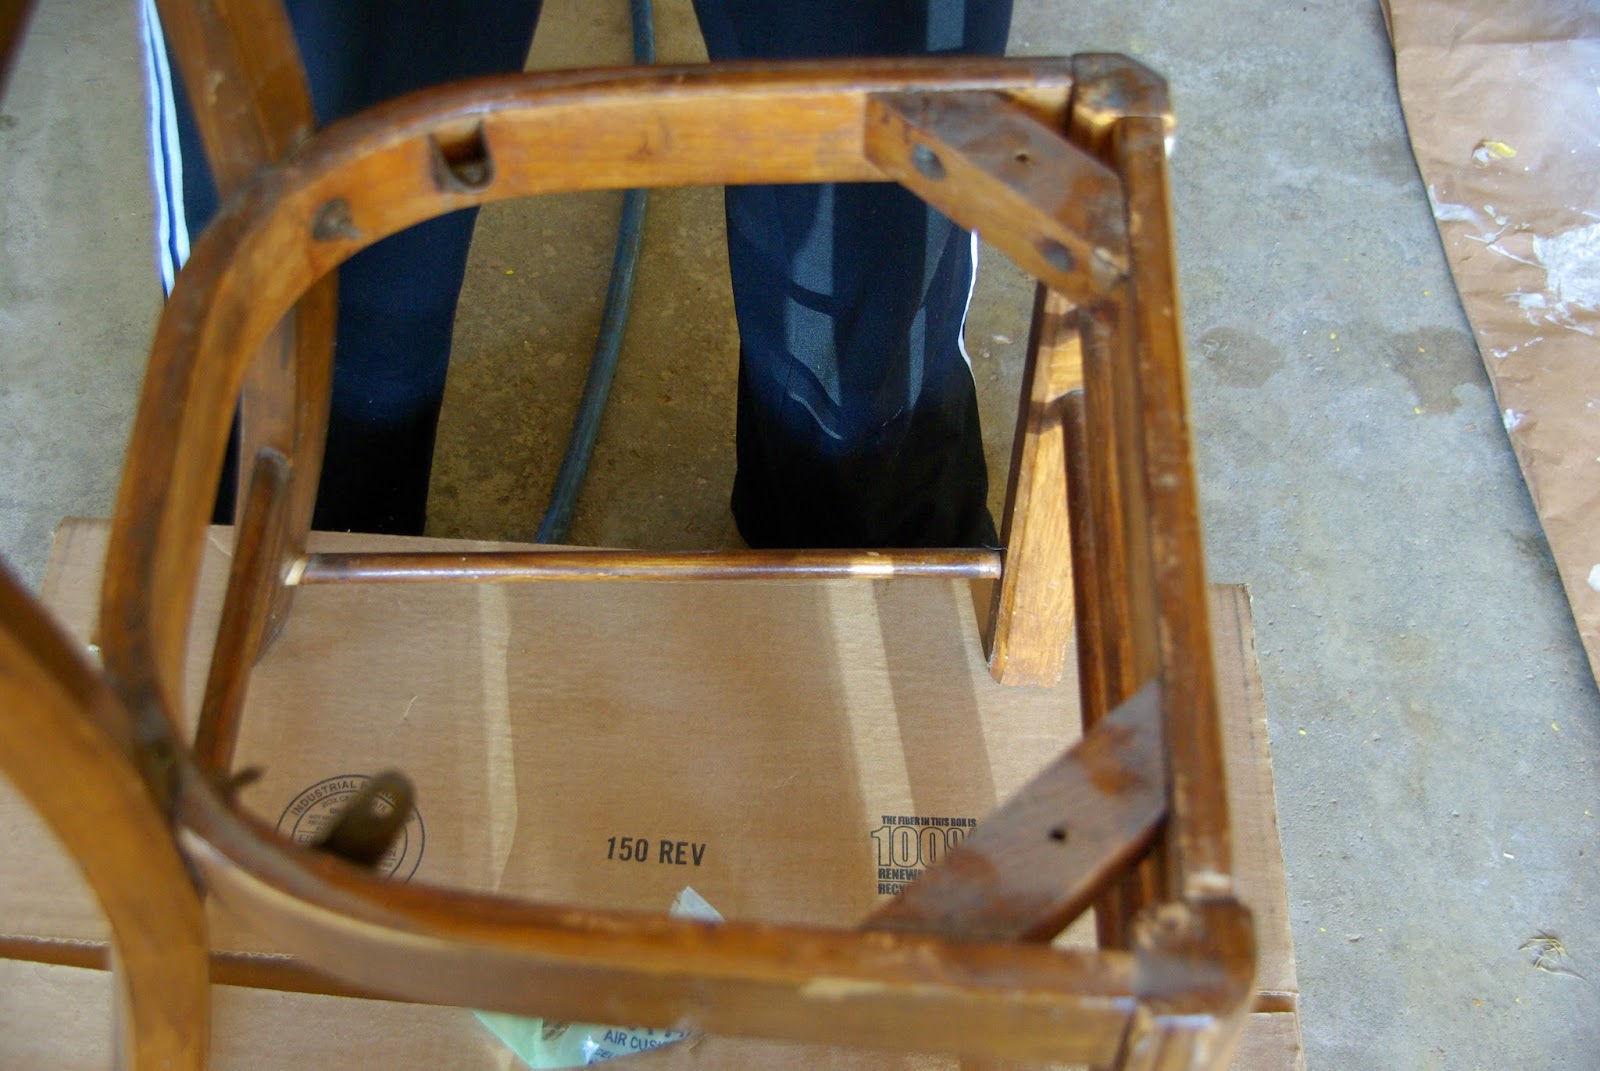
 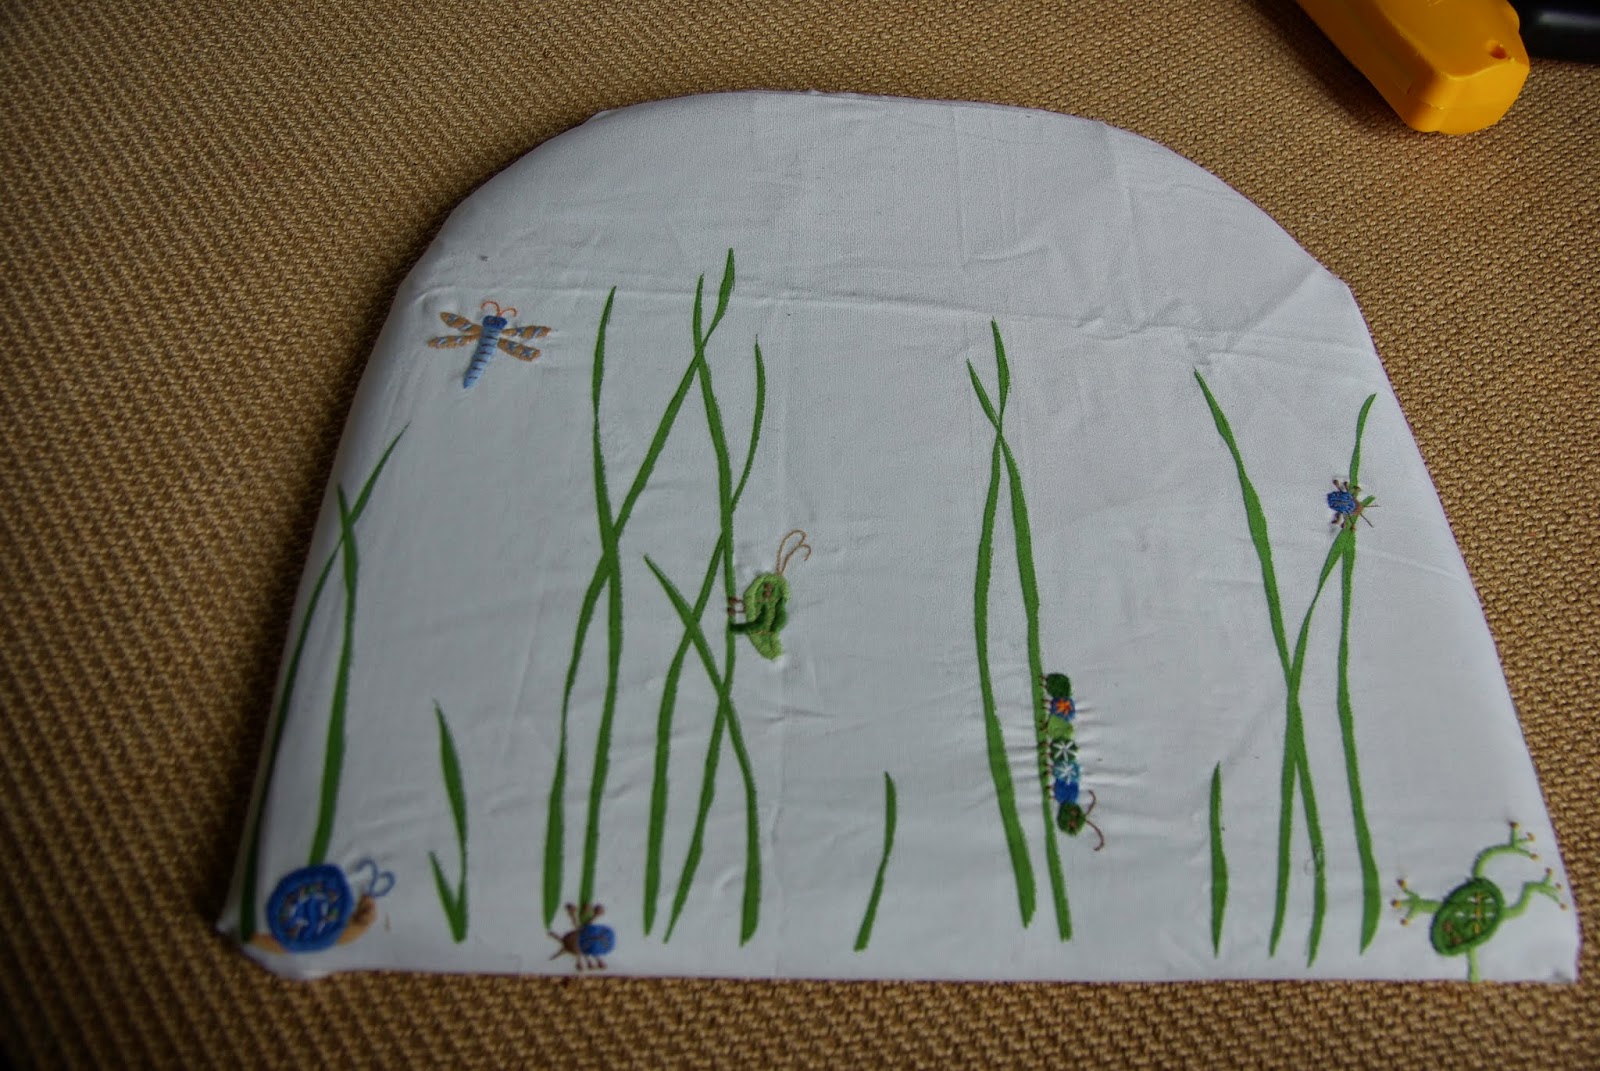 So now I have redone the cushion and painted chair. Time to add the two together and call it done. For this, I sat the chair upside-down on our coffee table. I put the chair on the coffee table so that the cushion could sit on the seat, but upside down so I could screw in the screws to the chair cushion. For this I also made sure the cushion lined up properly and was not sitting too close to the edge of the chair or one side more back than the other.
  Make sure the fabric is out of the way of the place you will be screwing in.
 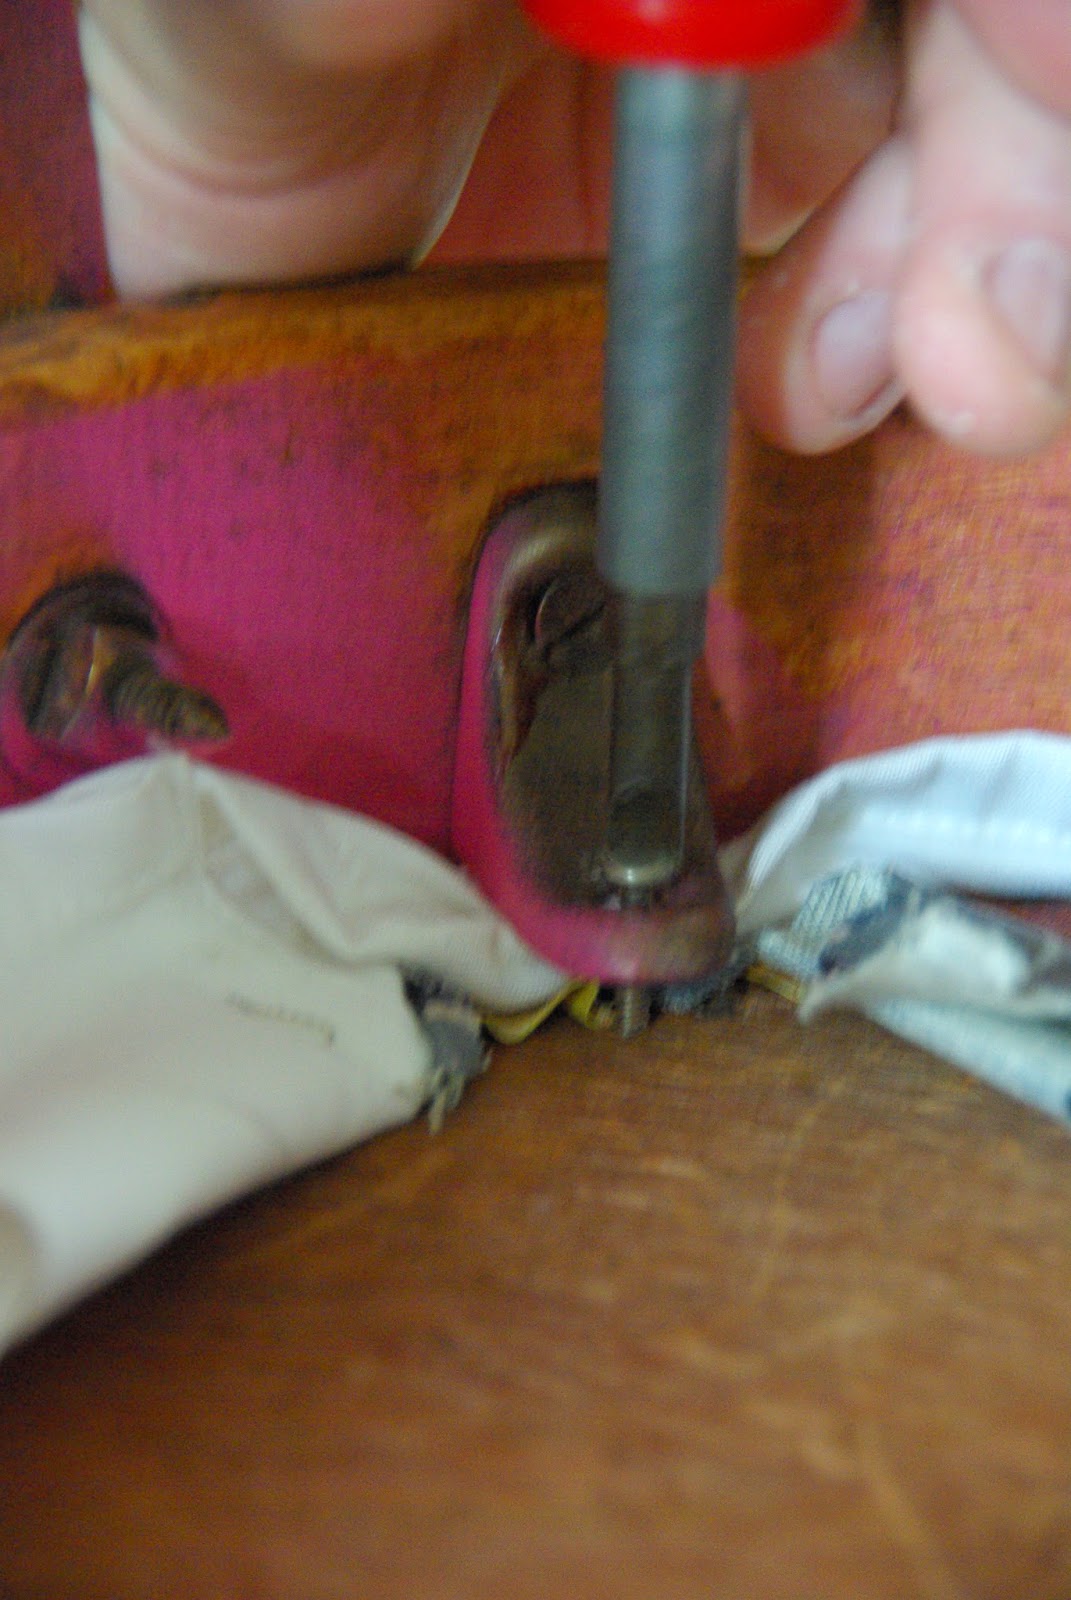 Once that is done, securing the seat into place it is also done. My old throw-away chair is now a new and improved pretty, pink chair. It turned out adorable and was exactly what I was frantically looking for.
 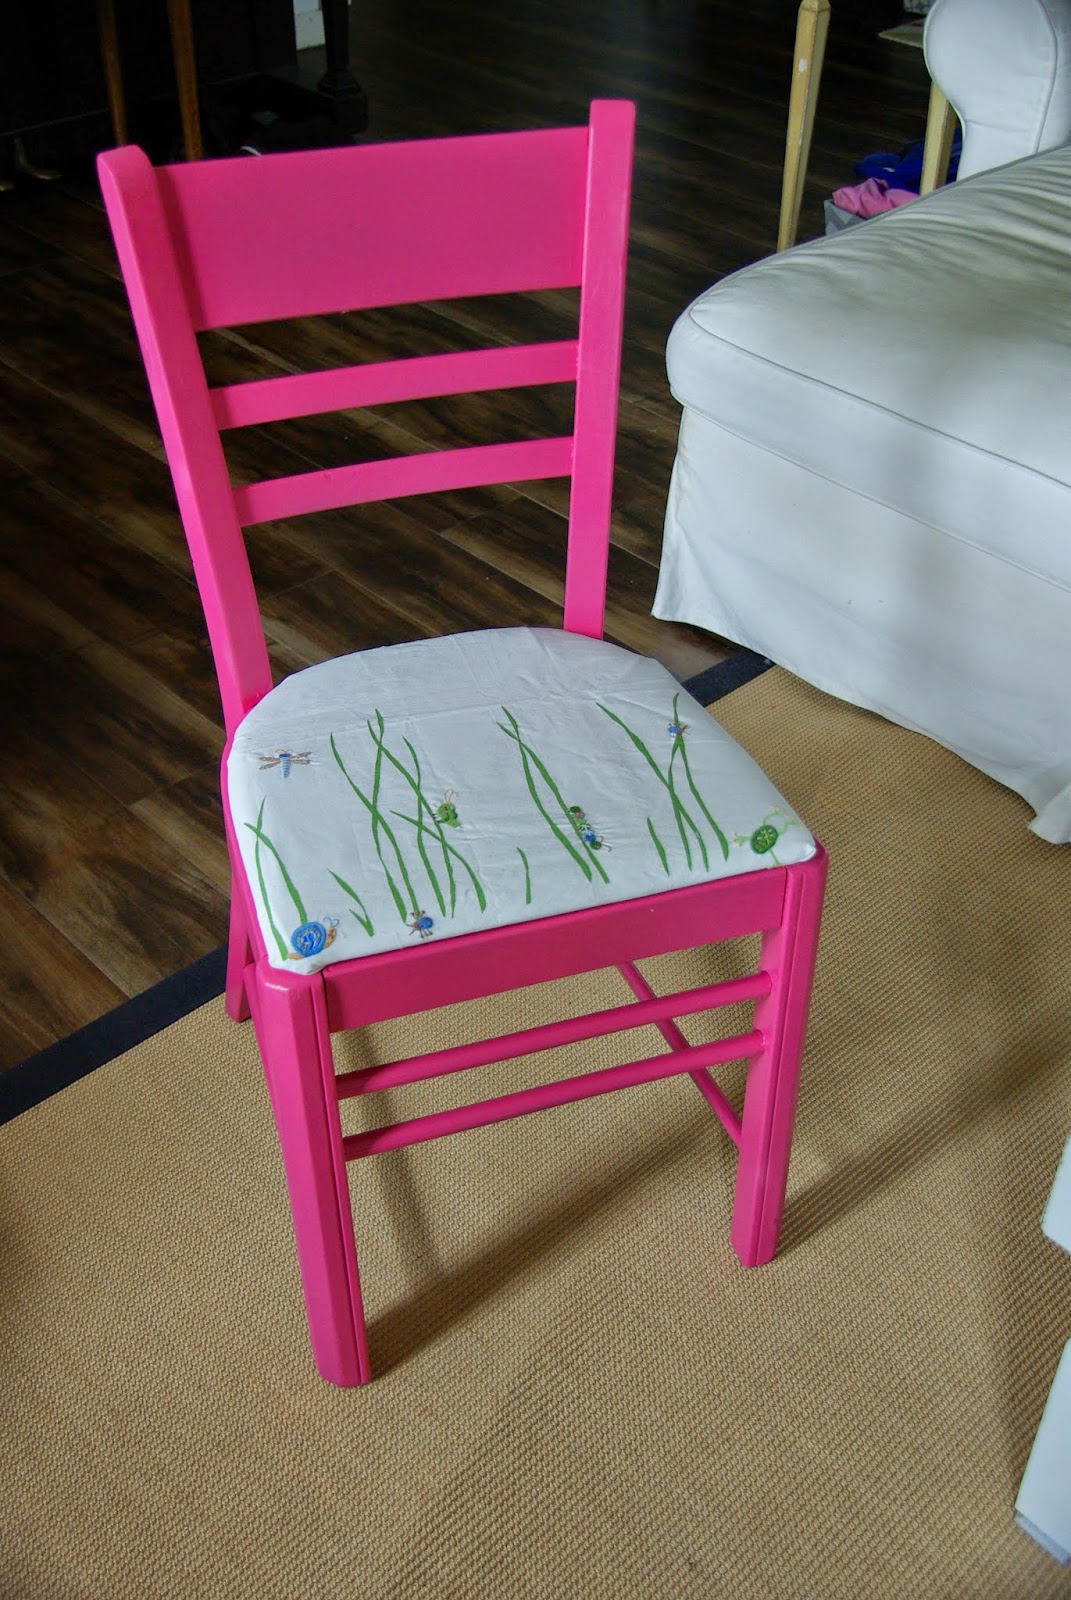 After spray painting the chair, I always inspect the detailing to make sure it all got even coverage of the paint. A quick re-spraying is sometimes needed for some pieces with lots of small details or cracks.
  I paired the chair with a old desk my Grandma gave me. It was actually my Mom’s and mine growing up. It was white and very old when we got it. The two together look like a match made in heaven…a pink heaven. Perfect for my 6-year-old Nora.
  So there it is – the pink, lovely chair redo. All in total I spent $5.00 on this project. About $2.00 for the curtain (I spent $5.00 for all three panels, so I guesstimated the amount for one panel I used for this project), and then $3.00 for a can of spray paint. Not bad for an adorable piece of furniture that brightens up her room. I hope you were inspired to use and redo those old chairs and not throw them out. Easiest and cheapest redo ever. I am going to start a save the chair campaign or something. Who is with me?!


Join the Conversation