By: Sarah Ramberg of Sadie Seasongoods
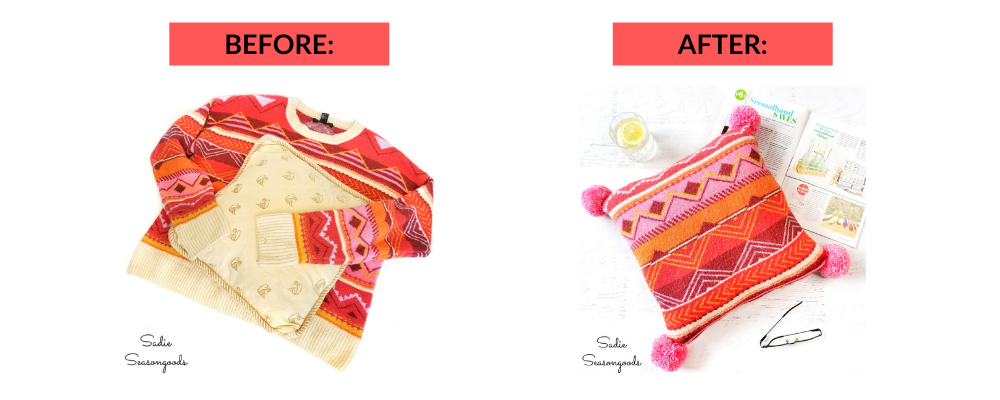
Hi, there, fellow Goodwill Shoppers! It’s Sarah Ramberg of the upcycling blog, Sadie Seasongoods, again. Today, I’m sharing a fun craft project using two unrelated items that you can find at any of our local Goodwill stores! Keep scrolling to see how you can easily make a DIY sweater pillow.
If you’ve ever shopped for throw pillows at home décor stores, then you know how expensive they can be! But making your own version using sweaters and pillow forms from Goodwill is SUPER easy and WAY less expensive. Which means you can switch them around all year long for a fraction of the cost!
Craft Supply List
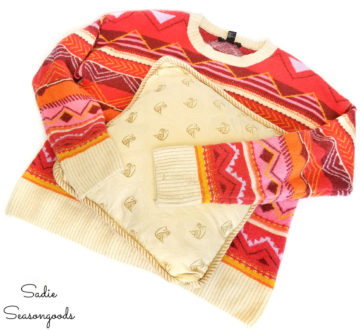
- Sweater from Goodwill (larger sizes with a denser knit are ideal; I found this one at the Pineville Store)
- Pillow from Goodwill (any size that fits within the confines of your sweater; I found this one at the Ballantyne Store)
- Scissors
- Sewing supplies: needle and thread, straight pins, sewing machine
- Yarn in a coordinating color
- Scrap cardboard
Instructions
1. Select your sweater and pillow from Goodwill. I find that larger sweaters are easier to work with, but just about any sweater will do. As for pillows, square and rectangle shapes are the easiest to cover (i.e., no fancy sewing skills required!).
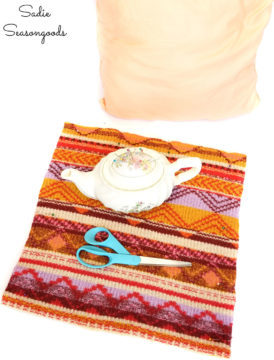
2. Start by turning your sweater inside out, and lay it flat on your work surface. Remove the old pillow cover from the pillow and place it on your sweater.

3. Cut out your new pillow cover (through both sweater layers) by using the pillow form as a template. Cut about ¾” out from each side of your pillow to allow seam allowances (i.e., margins) for sewing. Without moving the freshly cut sweater pieces, pin three of the sides together.
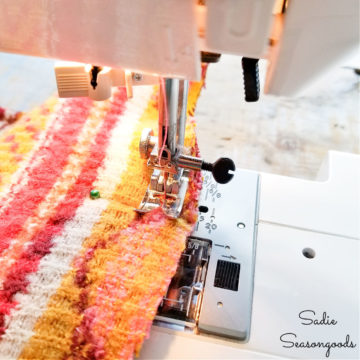
4. Stitch the three sides together on your sewing machine, leaving a ½” to ¾” seam allowance on each side. Just make sure you leave one side open!
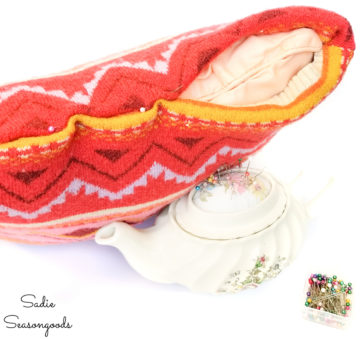
5. Turn your sweater pillow cover right-side-out and place your pillow form inside.
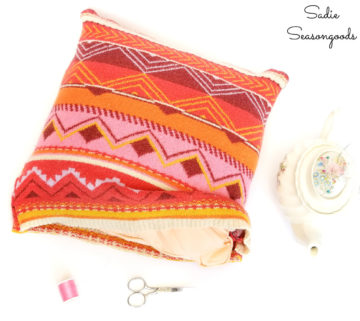
6. Tuck in the open end and pin it closed. Then, use tiny whip stitches to sew the opening shut!

7. Now, you have a fabulous new pillow and it’s cute enough just like this, right?

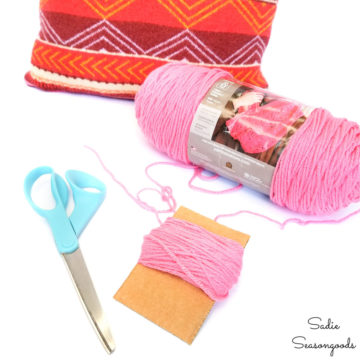
8. But if you want to add a little embellishment, I highly recommend making some yarn pompoms to attach to the corners. Start with a piece of scrap cardboard (even a spent gift card will do) and wrap with yarn. The more you wrap it, the fuller your pom will be – always err on the side of lots of wrapping!
9. Carefully slip the wrapped yarn off your cardboard and use a separate piece of yarn to tie it off in the center, as tightly as you can. Then, run your scissors through the loops and give your pompom a haircut until it is symmetrical and fluffy.
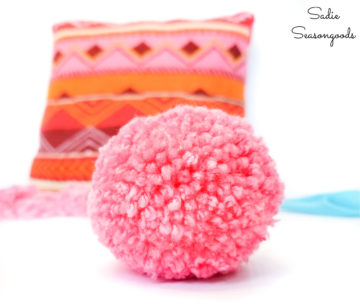
10. Make three more poms, and run a needle and thread through the center of each pom several times at the corners of your pillow. That’s it, now your inexpensive sweater pillow is done!
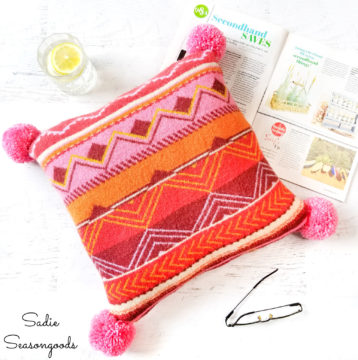
What a fun and easy way to create unique pillows that don’t break the bank. I love the idea of being able to switch them out during different seasons or as my style changes. And, of course, half the fun is hunting down amazing sweaters from Goodwill to craft with!
Thank you so much for checking out this upcycling idea with me. If you repurpose one of your Goodwill sweaters into a pillow, please tag me on Instagram or Facebook – I’d love to see it!
– Sarah at Sadie Seasongoods


Join the Conversation