 There are not many moments that my mind is not on thrifting, decorating and/or organizing. This is especially true when on vacation and visiting another city. I’m always on the hunt for new treasures and ways to save money. On a recent trip to Charleston, S.C. to celebrate my sister’s birthday, we couldn’t resist using our handy dandy Goodwill locator app to find the stores in the area. On one such stop, I came across the lantern glass I’d been hunting for quite some time. The $.79 price tag made the deal even sweeter! If you know me, you know all things candle-related are my deal. I love, love, love candles. But as you know, candles and candle holders can be pricey depending on where you shop.
 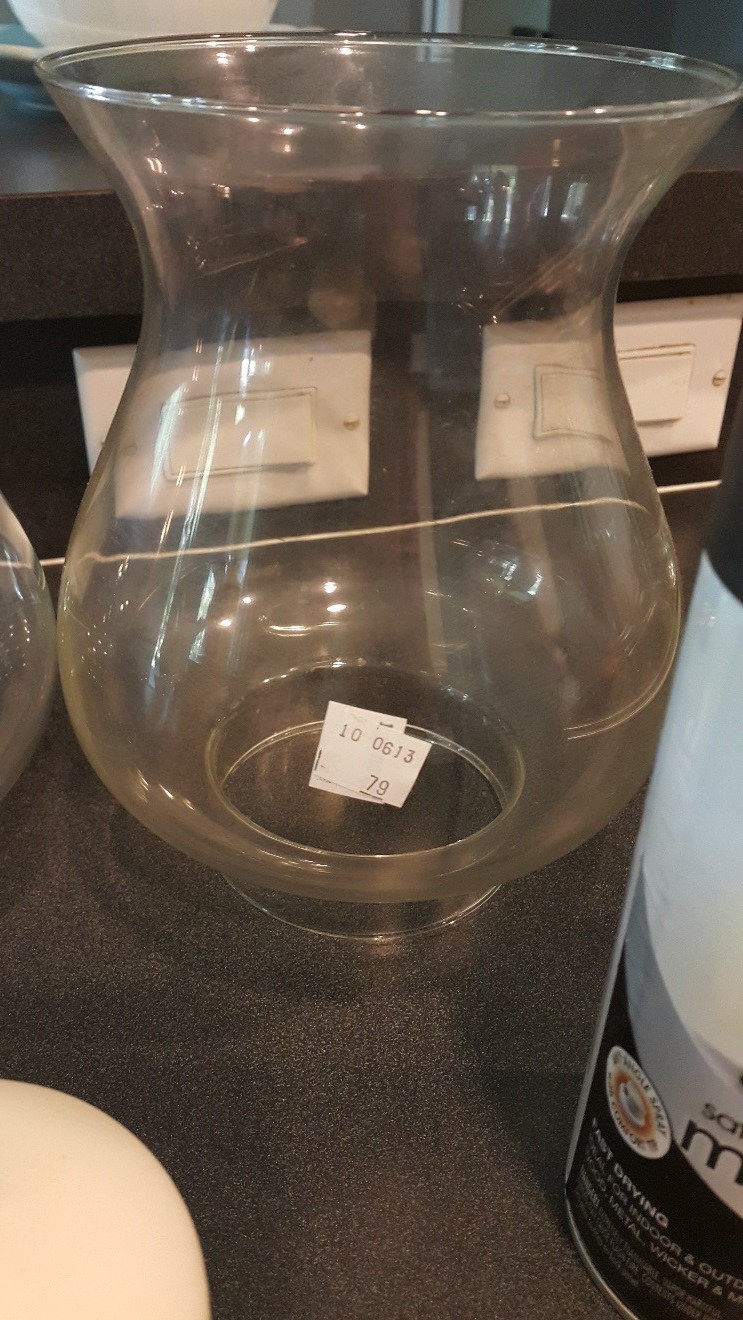 As luck, or as I like to think of it, the “thrift gods” would have it, the round shape of our favorite tuna cans provide the perfect base for my lantern idea. Any brand of tuna will do for this project as long as it’s the larger can. Just about everything you’ll need for your new DIY lanterns, on the cheap, can be found at your local Goodwill…well, except for the tuna of course! For some reason, people donate candles all the time. As for the lantern toppers, check the glass section where items such as vases are kept at Goodwill. Here’s all of my supplies.
- Lantern topper
- Spray paint in your choice of color (Oil Rubbed Bronze a.k.a. ORB is my favorite)
- Empty tuna cans (time for that tuna sandwich)
- Candles
Next, after enjoying that gourmet tuna sandwich you whipped up, you’ll want to make sure your now-empty cans are clean and there are no sharp edges inside. I find that I get a cleaner cut using a manual can opener. Once they’re all cleaned up, make sure they’re completely dry. For this next step, you’ll want to go outside. If you can’t go outside, make sure this next step is done in a well ventilated area and you use a mask. This is my favorite color and brand of spray paint. It’s Rust-Oleum’s Oil Rubbed Bronze and for this project, I’m using the satin metallic finish. Again, feel free to use whatever color you wish to incorporate into the décor of the area you’re going to use your new lanterns. 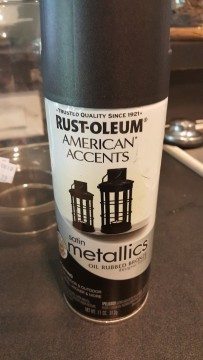 Now head outside and paint your empty tuna cans. When using spray paint, you want to follow these steps for a smooth finish: 1. Hold the can approximately 10 – 12 inches away from the surface. 2. Getting too close to the surface can cause drips and runs. 3. Paint with a sweeping motion. Apply thin coats of paint to avoid drips and runs. Allow your painted cans to dry for at least three hours. Spray on a second coat of paint if needed. Allow the second coat of paint to dry before handling.
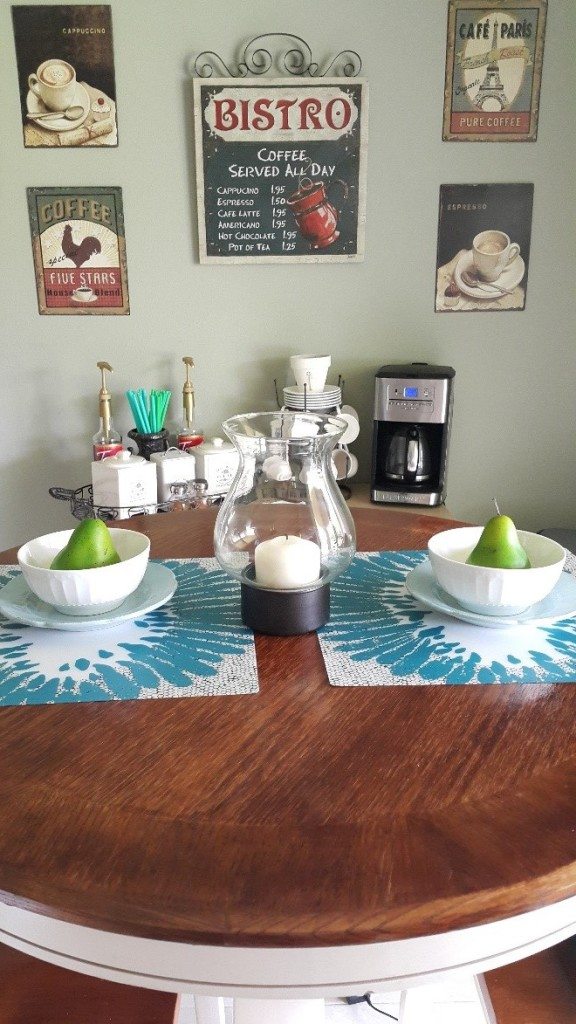
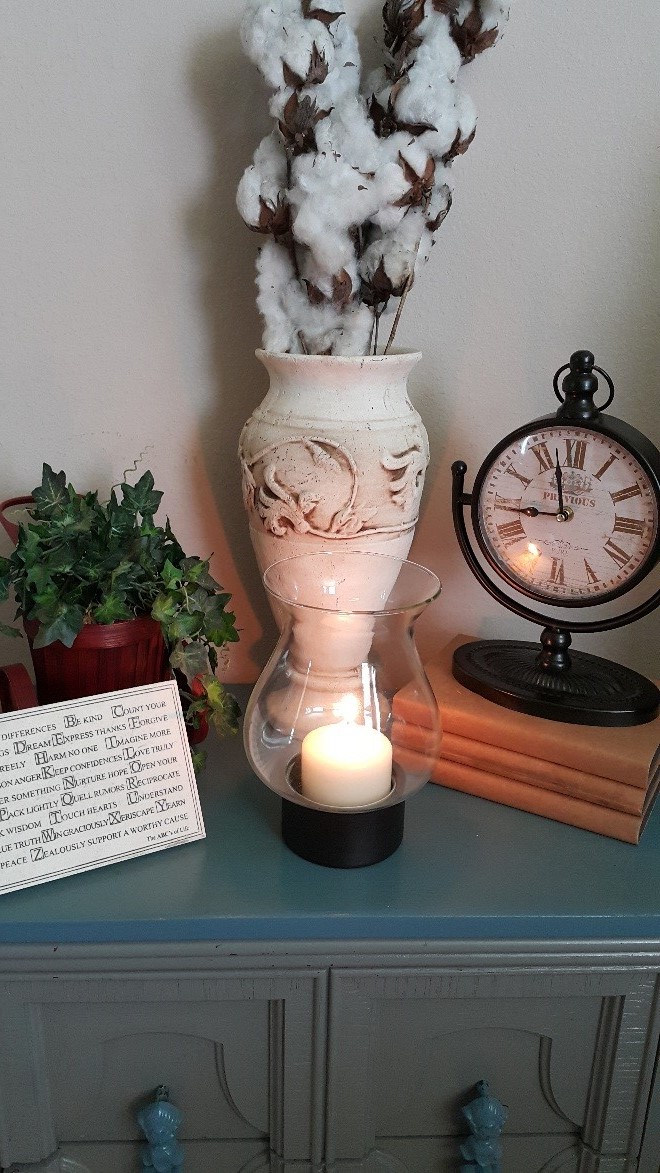
 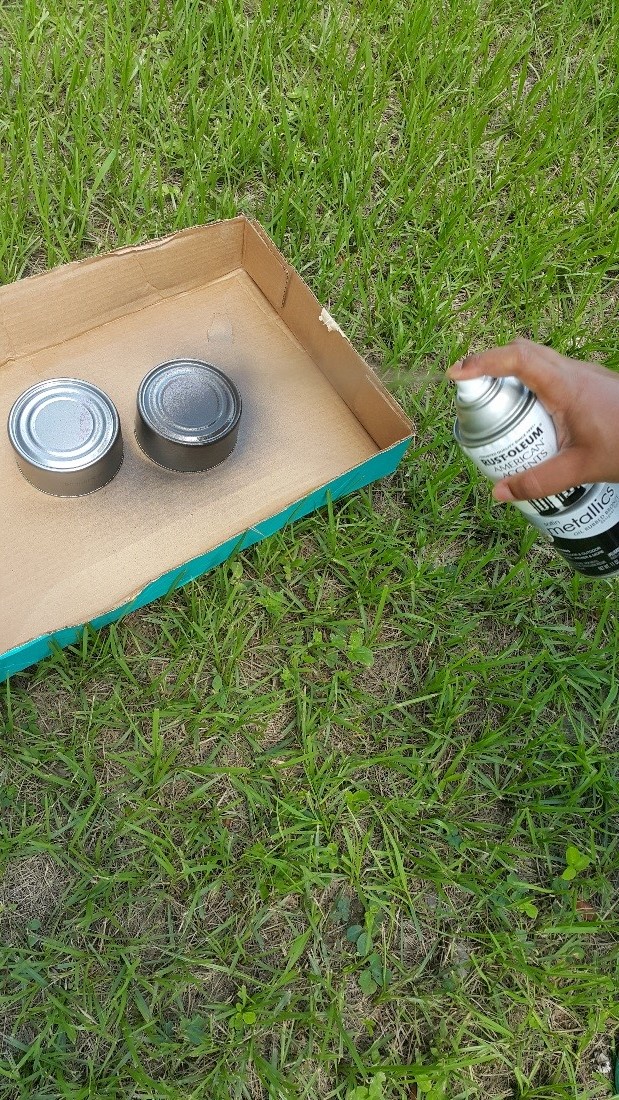 Once your cans are dry, you’re now ready to assemble and enjoy your new lanterns. Here’s a look below at how I’m enjoying mine.
 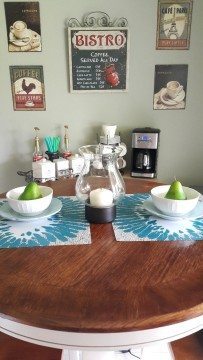 So if you love candles, and a good ol’ tuna fish sandwich as much as I do, next time just remember to hold on to those tuna cans and on your next visit to Goodwill, take a peek in the glass section for a topper and you too can enjoy a little candlelight with your tuna!
Dee Fleury is a Philadelphia native now living in the South and enjoying the inner “country girl” that was always there. She loves to hunt for treasures old and new, and incorporate her thrifted finds into her home décor. She blends a little bit of French country, farmhouse, vintage, glam and contemporary, all mingled nicely together. Dee is an aspiring small business owner with dreams of owning her own shop offering painted furniture and home décor featuring some of her found treasures.


Stay on the lookout for more of Dee Fleury’s Home DIY projects. She is a fantastic Interior Decorator with an eye for turning real trash into new treasures. I’ve seen her work in person, and my mind and expectations are constantly blown!