 By Kilby Watson, Community Engagement Manager at Goodwill Industries of the Southern Piedmont We enjoy spending time outside in the summer, and it can be annoying to walk outside to a patio with great furniture and look over to see your hose laying in a clumped mess on the ground. At my house, our future plan is to enclose the patio space with a screened in porch – which means we would be moving the outside spigot. Therefore, I don’t want to purchase a hose hanger that adheres to the wall, where I would need to drill holes into the wall and eventually have to move the hose. Instead, I looked at some scrap wood in the garage and devised a plan for my garden hose. First, I needed to create something that could stand on its own. I selected two pieces of wood that could do just the trick. The base is a 2 x 8 board and the top is a 1 x 8 board. I simply used some wood glue and drilled two holes on the bottom of the base. Then, I secured the two boards with two screws to ensure they wouldn’t come apart over time.
 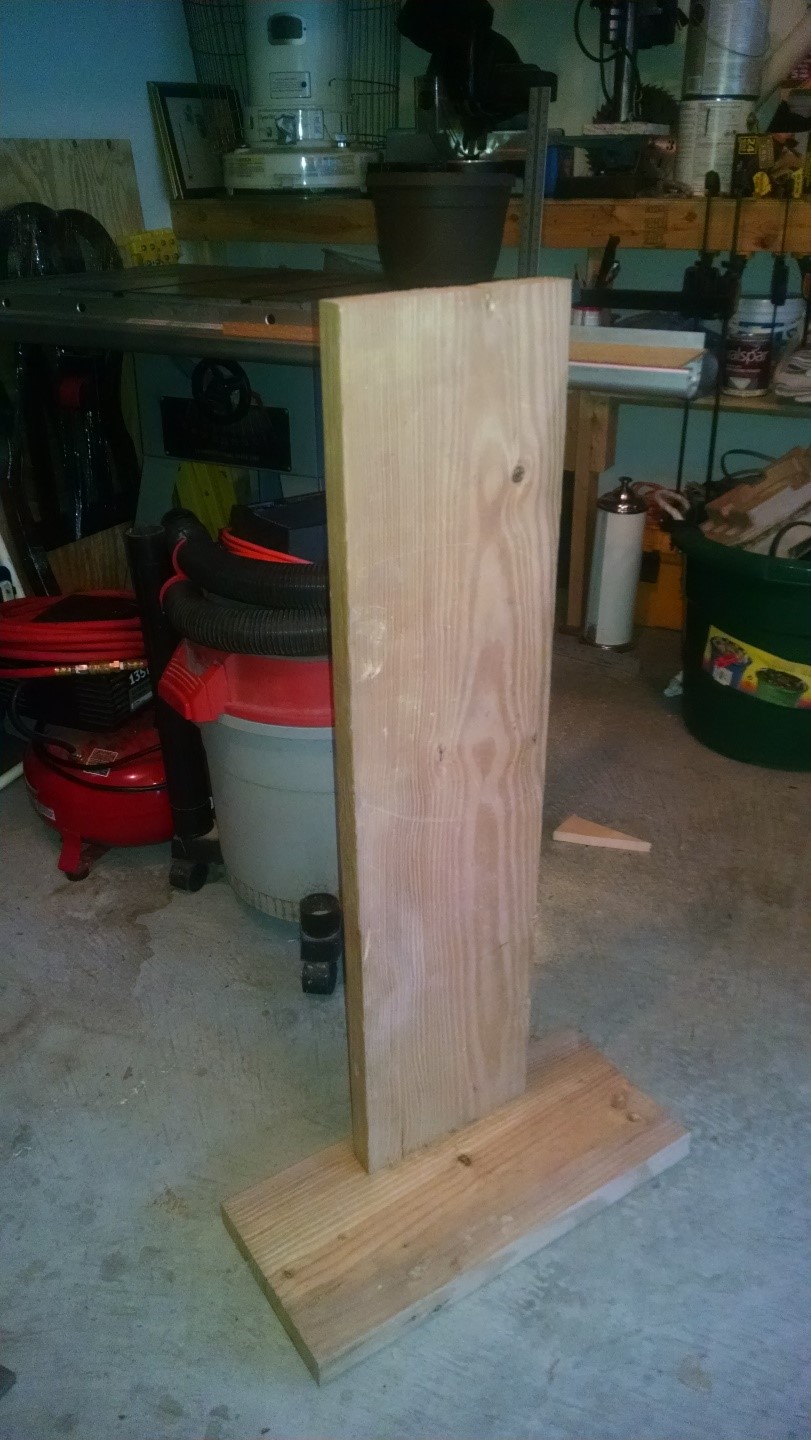 Then I needed something to hang the hose. However, I really wanted something that was decorative too so that if the hose was being used, it wouldn’t look like it was missing something. I didn’t want to just use a hook or nail. Looking around my garage again, I saw an old hanging basket. I hadn’t used it for 4-5 years, so it was just collecting dust and wasting space. I love that this basket could be a great find at Goodwill and can easily be repurposed. Now, how to attach it… My awesome neighbor had just the tools I needed. With his help, a hole was cut.
 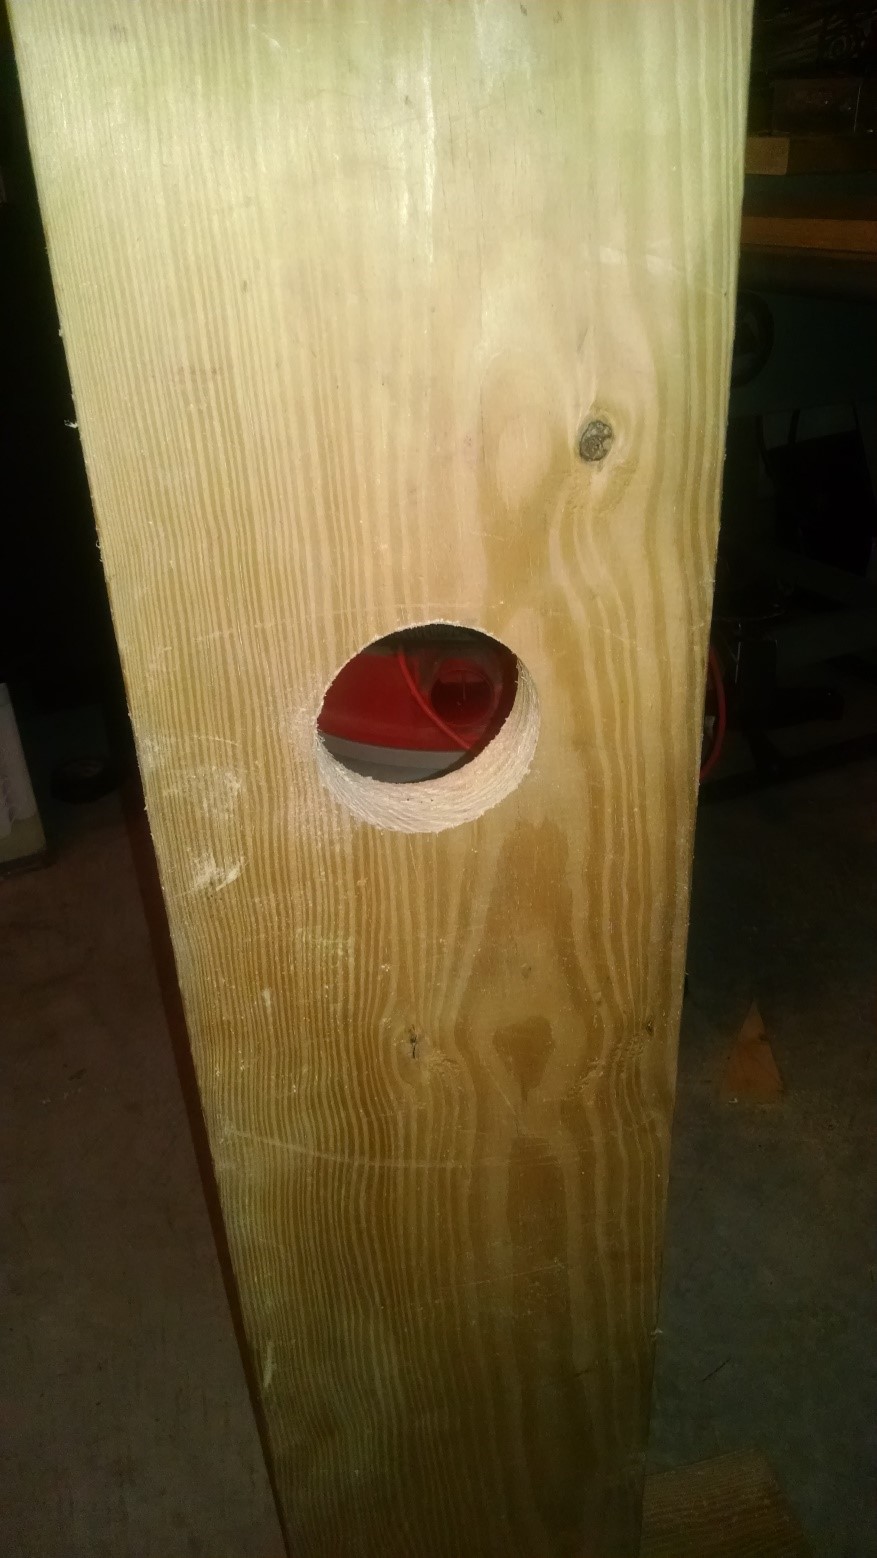 Then he cut the hanging chains and with his T bracket and my straight bracket, we attached the basket.
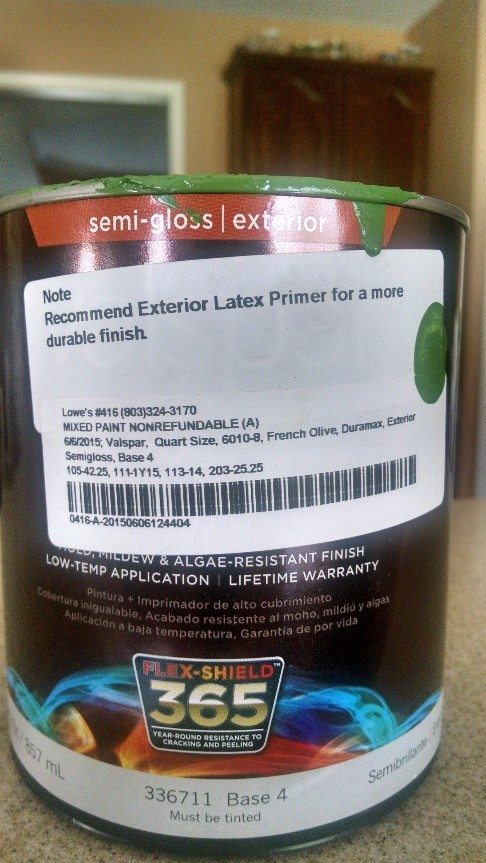
 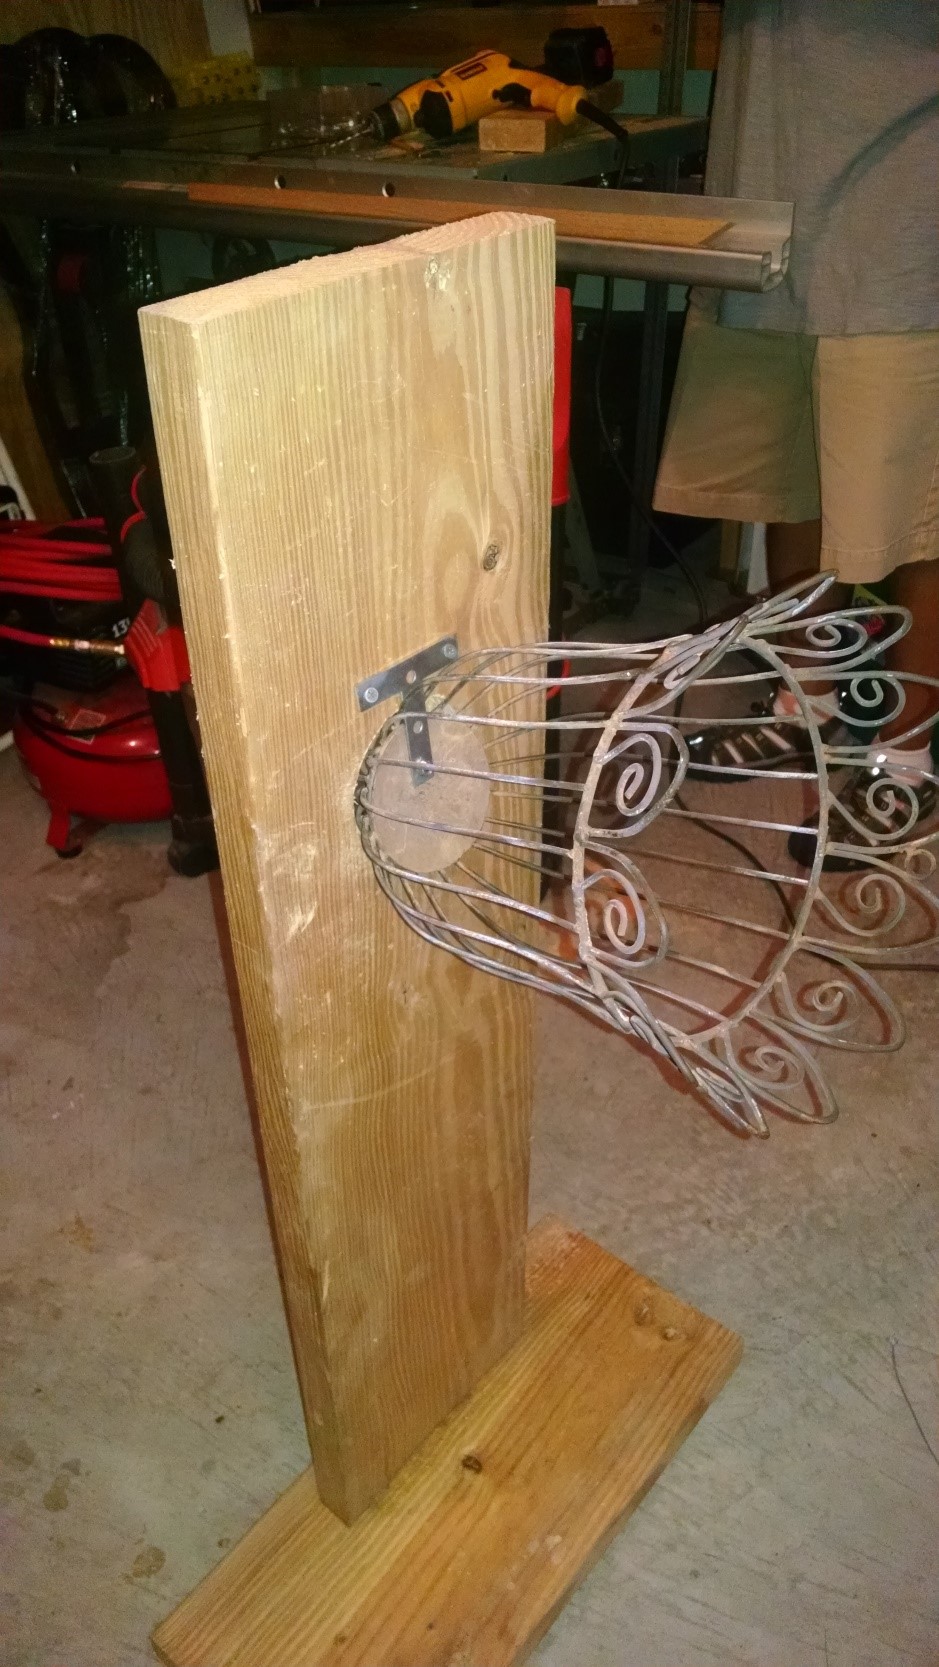 Next step: prep and paint. First, I sanded the wood and basket to prepare it for painting. Then with the hose, I rinsed off the dust and let it dry. I knew outdoor paint was needed, so it was off to Lowe’s for the colors. Because of the shape of the basket, I decided a flower would make a great piece! Here’s are the options I selected for the painting portion of this project.
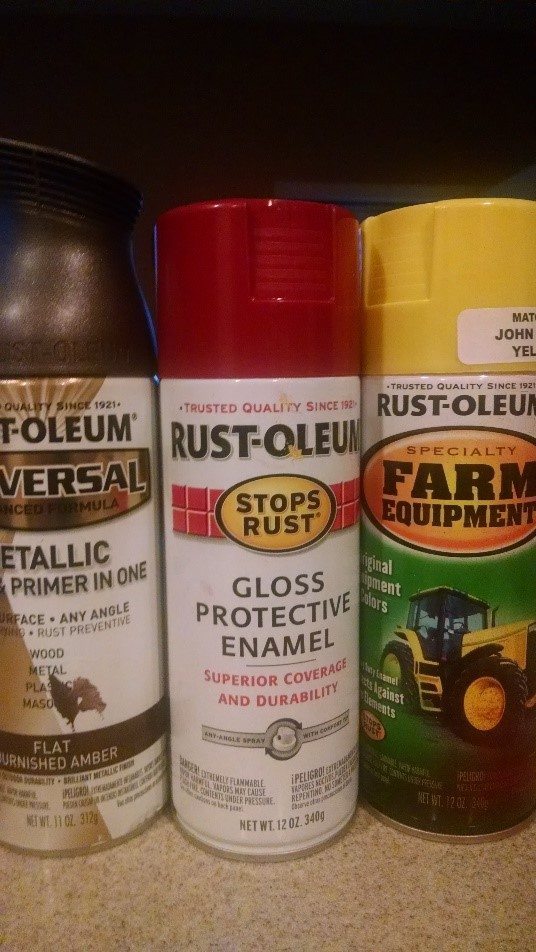
 Next, I put down a drop cloth, tape and newspaper to cover what I didn’t want to get certain colors of paint on.
 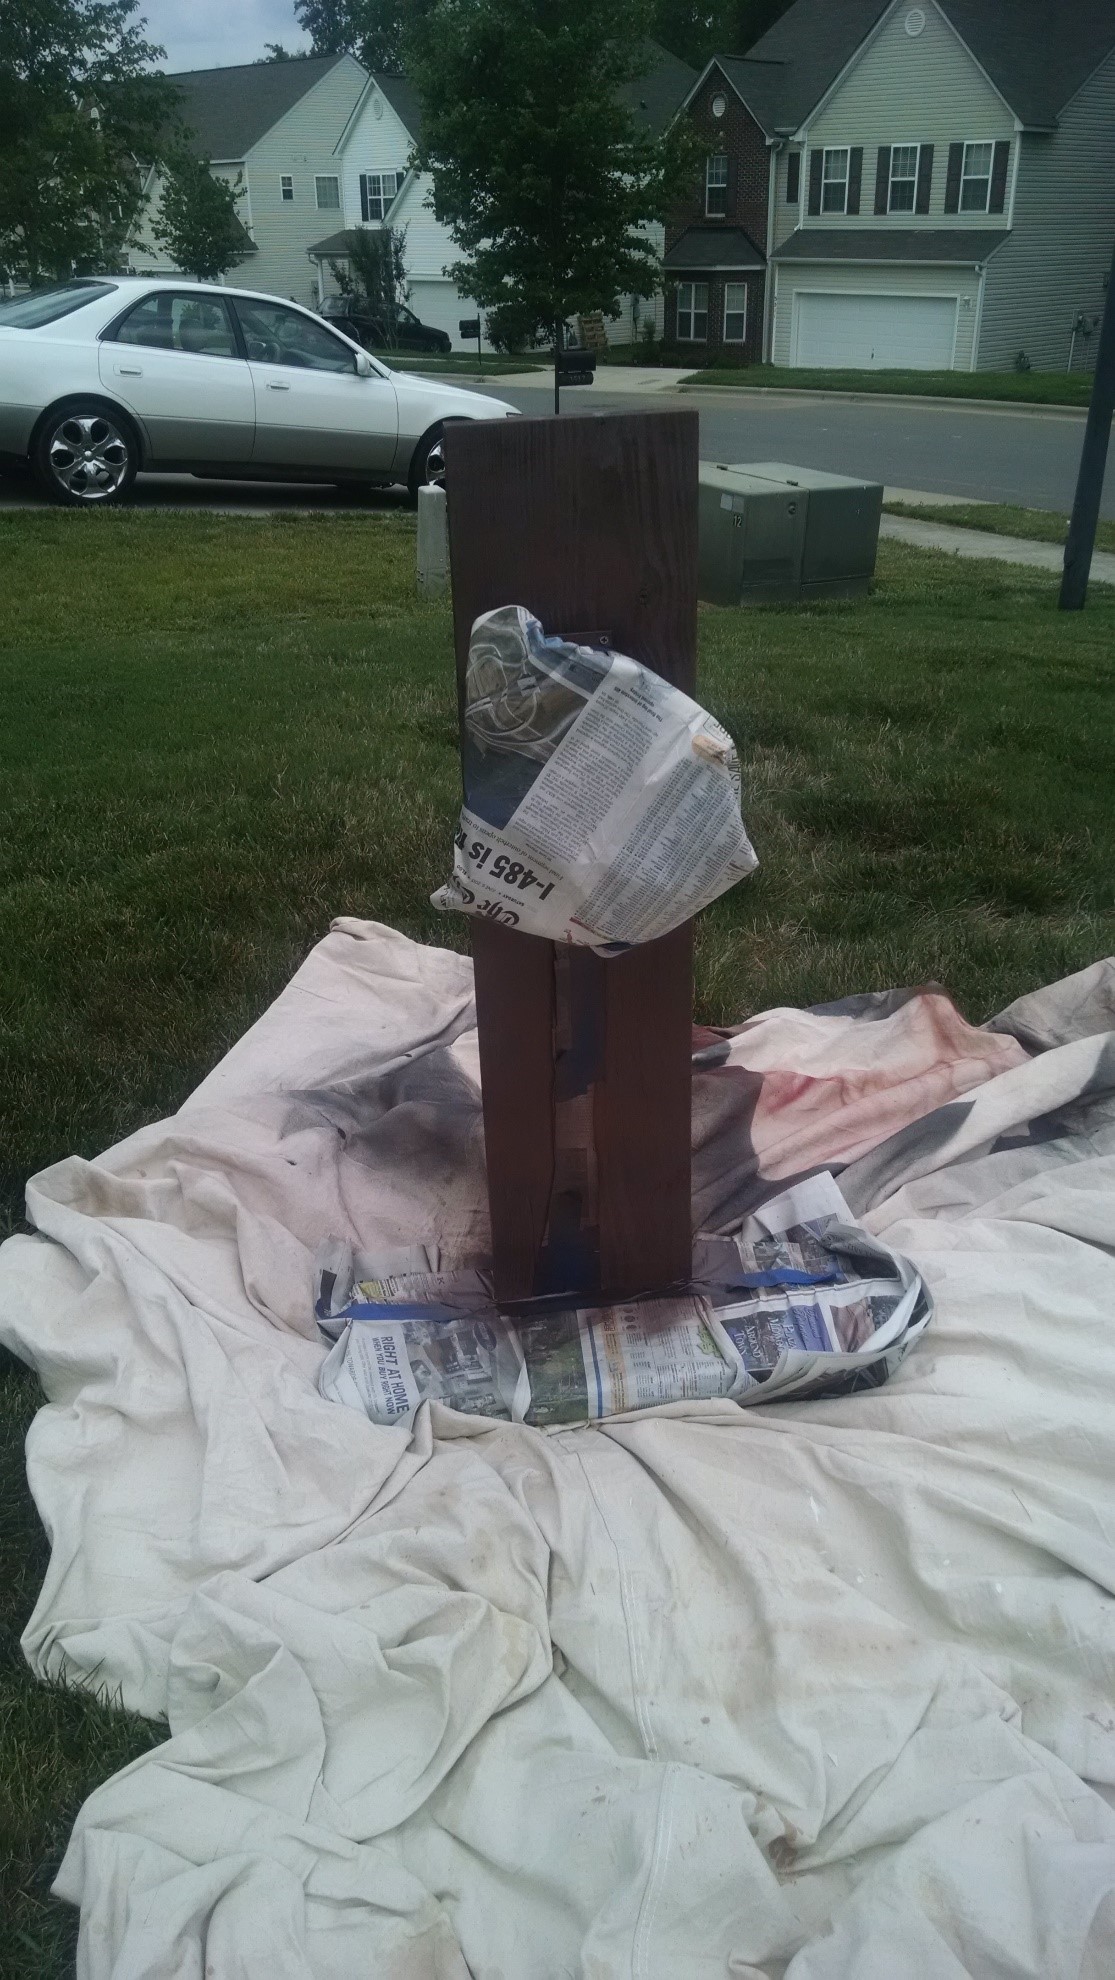 Once the background paint dried, I painted the rest. But, wow – the leaves were awful!
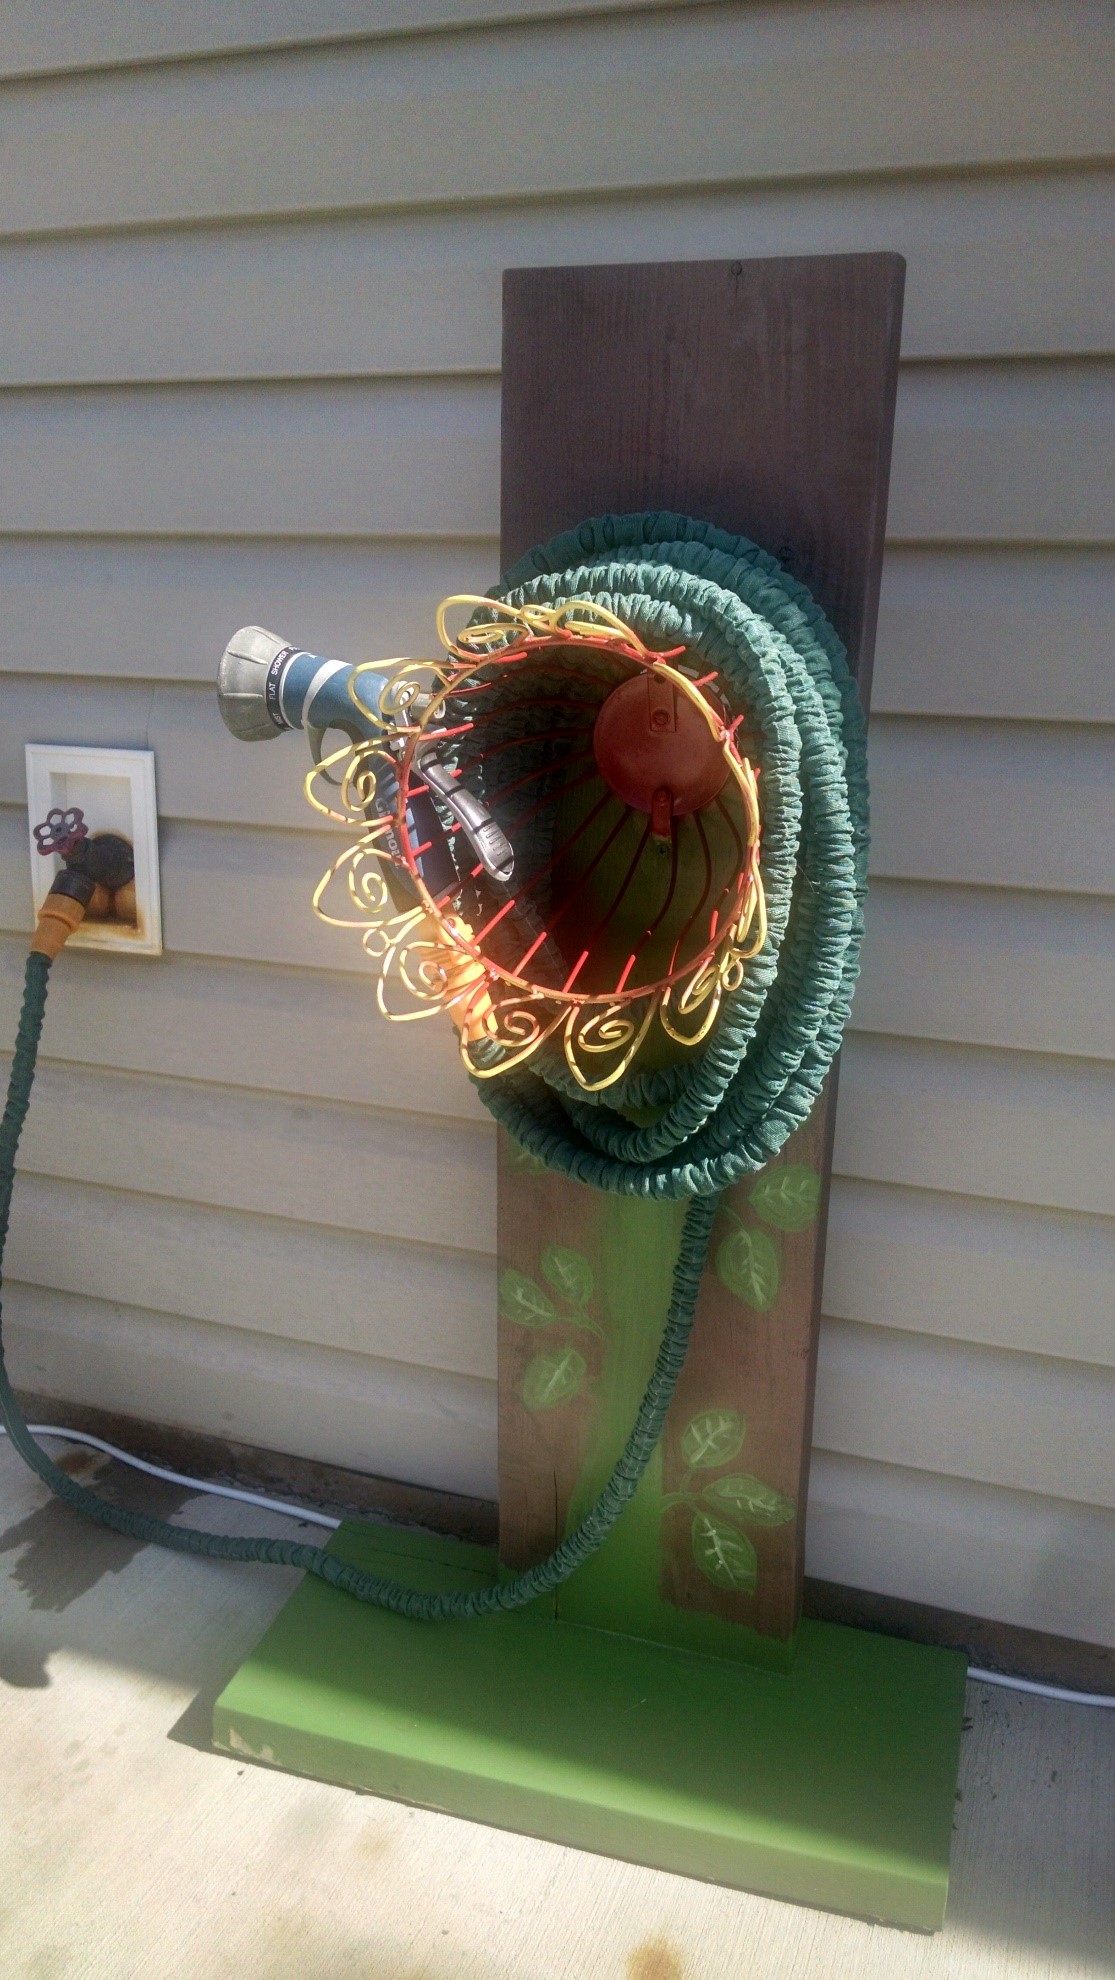
 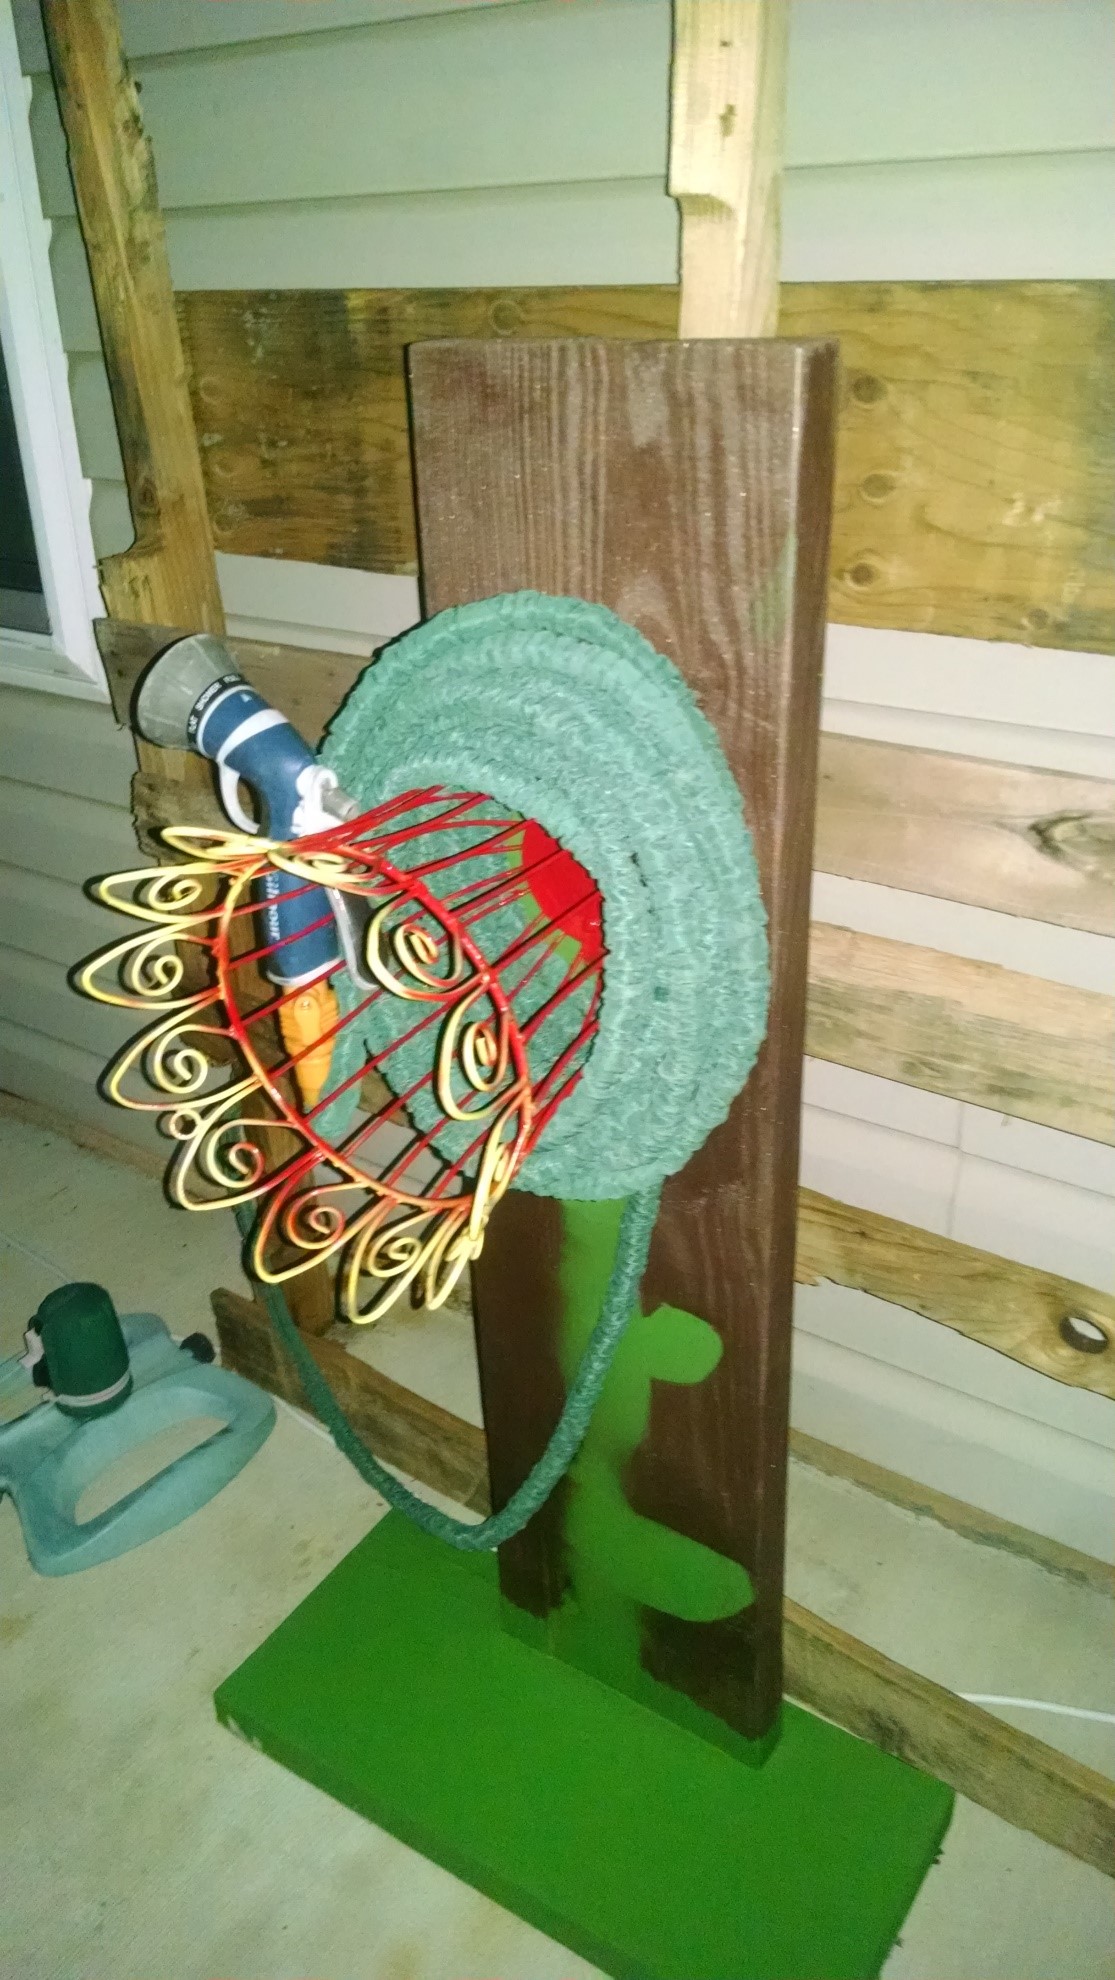 What I love about paint is that it doesn’t have to be permanent. I used the drop cloth and newspaper to cover what I didn’t want to paint and started again. The results were excellent! I’m no artist, but I am very happy with the final product! Below is the garden hose hanger without the hose.
 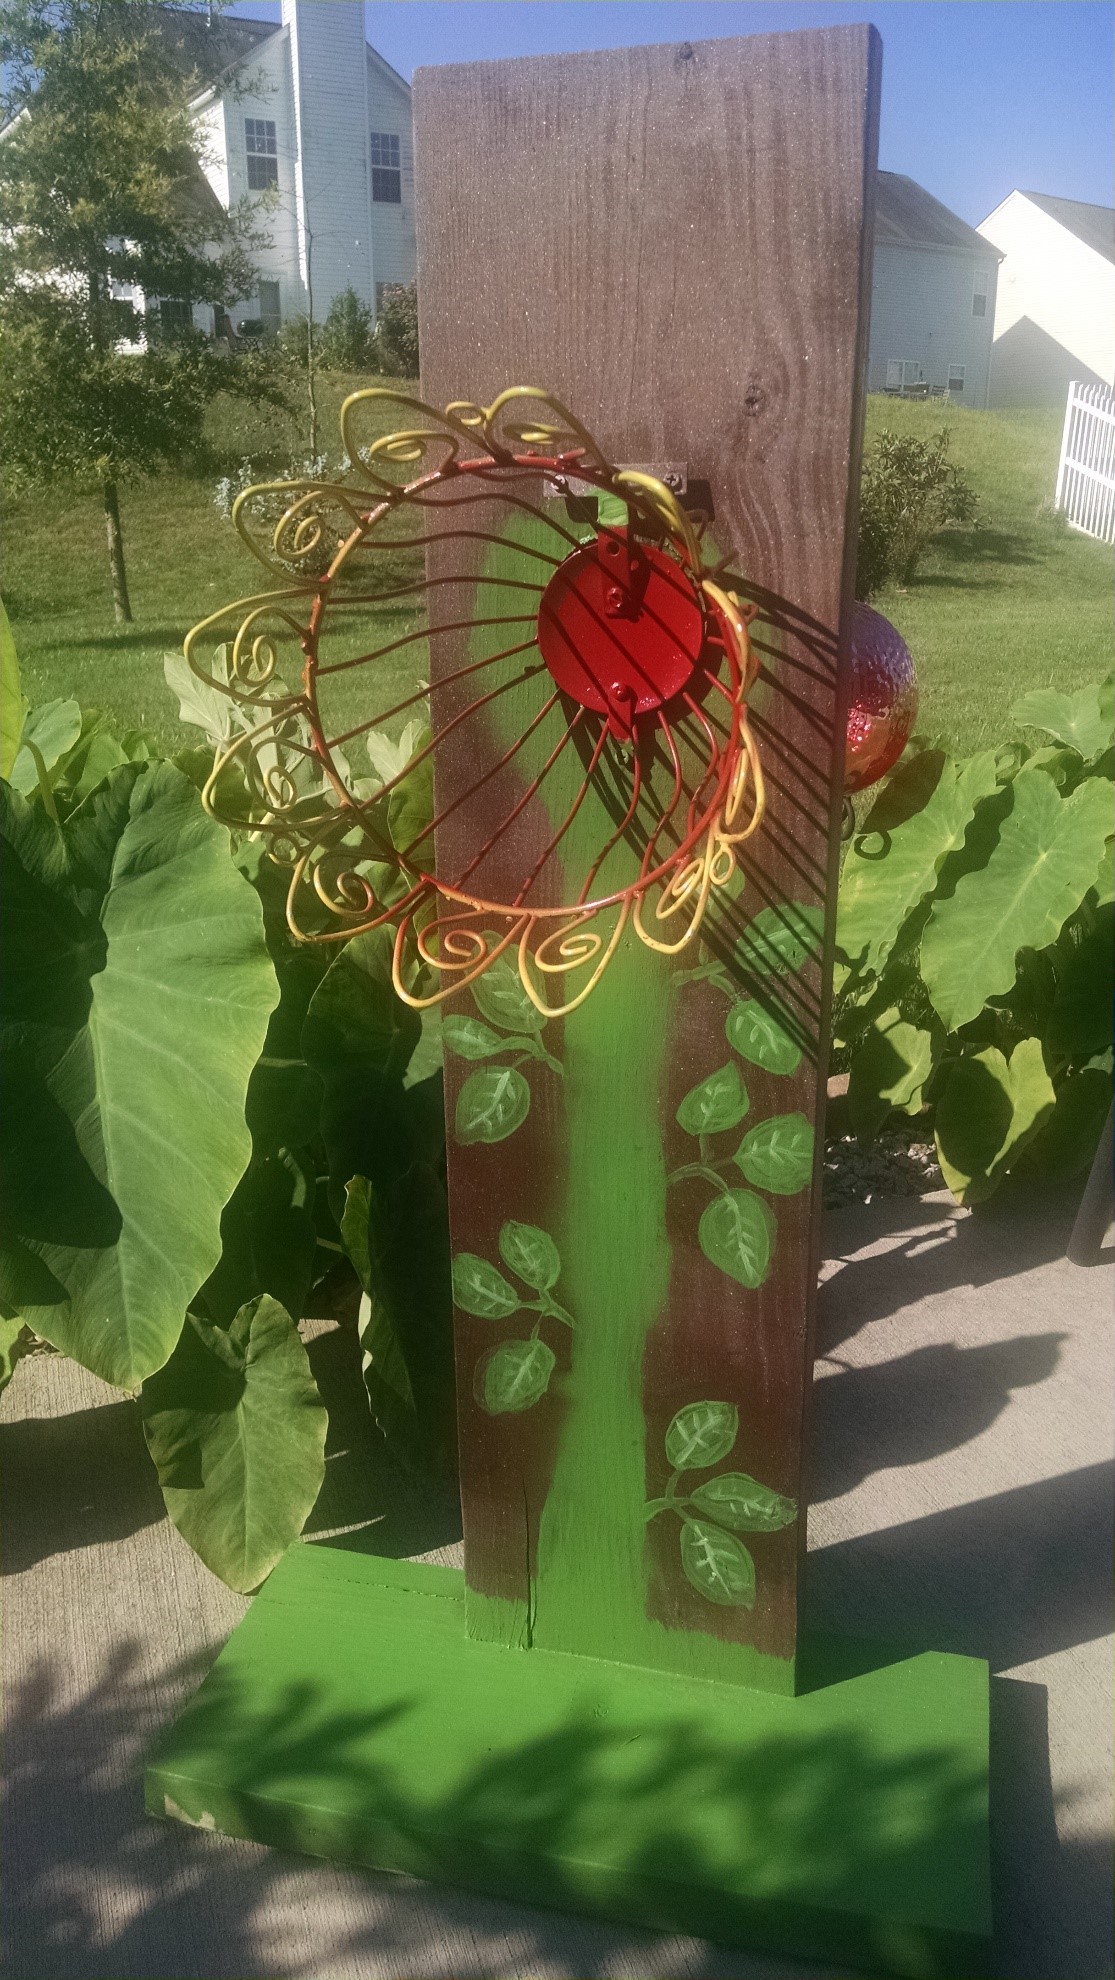 Total time spent to complete this project was roughly two days, due to time to let the paint dry. I’m very glad I took a little extra time to remake the leaves. Hopefully this inspires you to find a new purpose for the unused things hanging around your garage!


Join the Conversation