
You’re almost done with the kitchen remodeling project, and you’re hosting company this weekend for Memorial Day. You’ve painted the walls, stained the cabinets and picked out a new backsplash. All that’s left is giving the room personality with well-chosen accessories to match your new color scheme. Try bringing depth to the room by choosing accessories in shades found in your backsplash. Canister sets and hand towels are easy to find, but with so many options available, choosing an area rug can be a challenge.
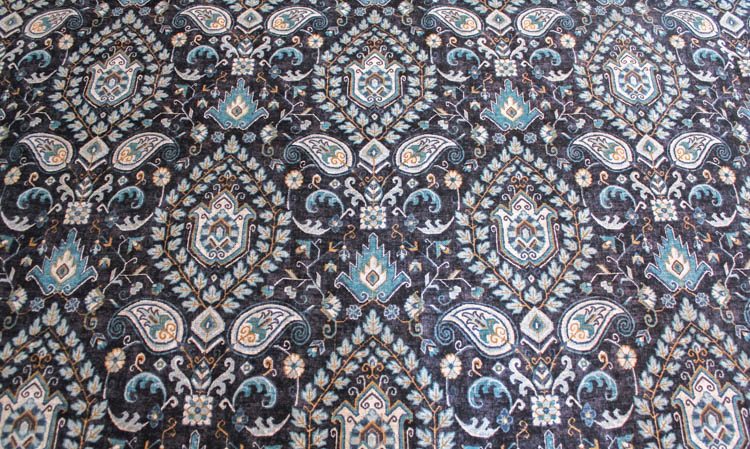
I recently helped a friend who just couldn’t find the perfect kitchen rug. She wanted a small rug with a print (to camouflage spots and spills) in shades of blue to coordinate with the rustic tones of her backsplash. Instead of giving up, we checked out the upholstery section at a local fabric store and found this beautiful pattern. It was perfect for a DIY rug.
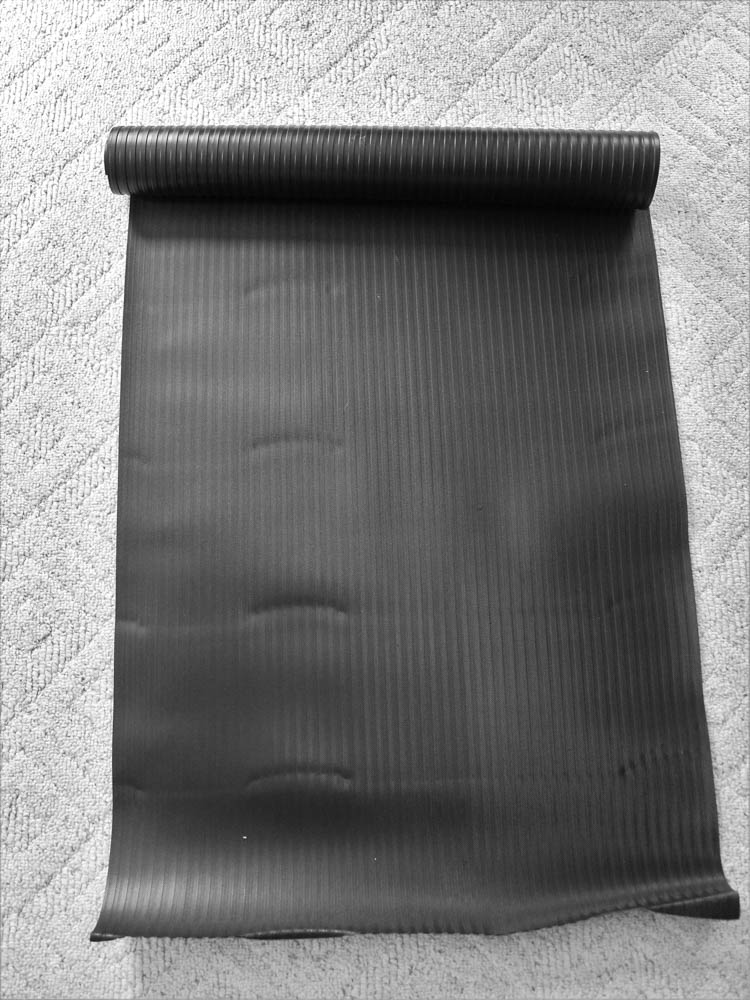
To make the rug slip-resistant, I purchased rubber matting. It’s sold by the foot at home improvement stores. The only other supplies you need to make your own rug are:
- Fabric
- Spray adhesive
- Polyurethane
- A paint brush
- Duct tape
DIY Kitchen Rug
1. Iron the fabric to remove all creases and fold marks.
2. Cut the mat to the appropriate size. My friend wanted a 2-foot by 4-foot rug.
3. Cut the fabric two inches larger than the mat on all sides.
4. Spray the smooth side of the mat with the adhesive (the “channel” side will touch the floor).
 5. Center the mat, adhesive side down, on the fabric.
6. Turn it over and smooth out any air bubbles and wrinkles.
7. Apply a coat of the polyurethane to the fabric side. Allow to dry.

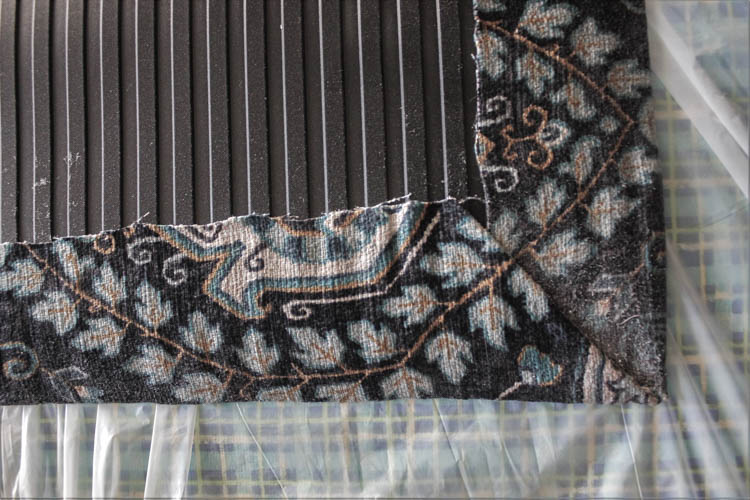
8. Once dry, flip the rug over (wrong side up) and spray the extra fabric on the edges with adhesive. Fold the fabric onto to the mat and smooth out any wrinkles. For a perfect miter corner, follow these steps:
- Cut off the excess fabric at a 45-degree angle.
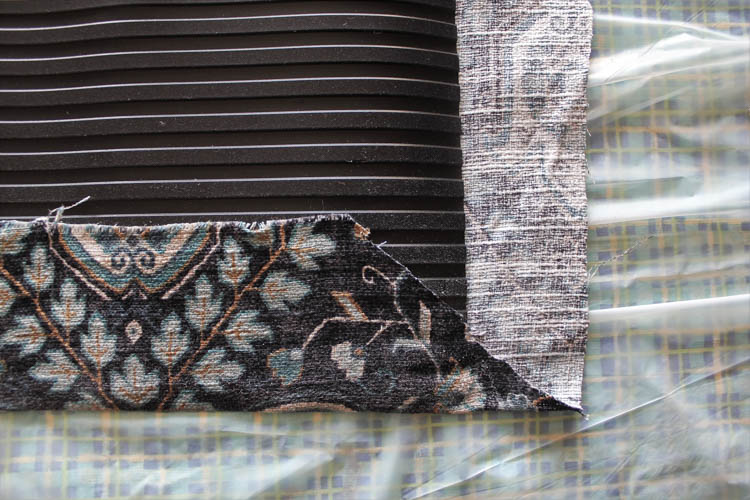
- Then fold in the edge, creating a little triangle.
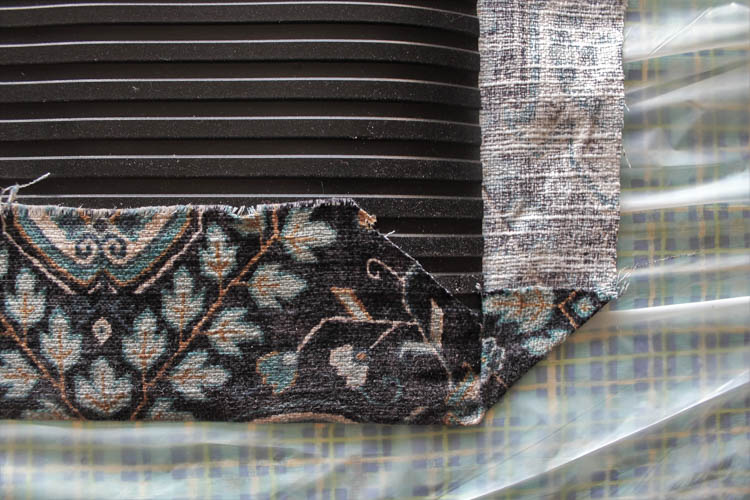
- Finish off the corner by folding in and gluing the remaining side of fabric.
9. Next, cover the raw edges of the fabric on the underside of the mat with duct tape.
10. Finally, flip the rug over and apply additional coats of polyurethane. The rug should be stiff, yet still flexible. The finish coat allows you to easily wipe up spills.
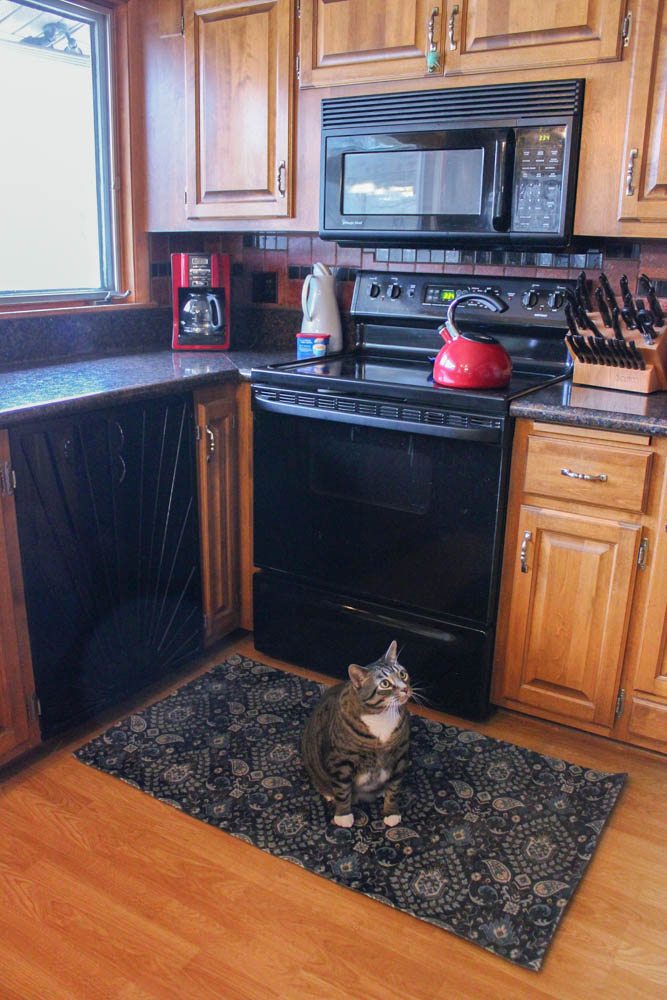
That’s it! You now have a durable kitchen rug that matches your renovated kitchen decor.
Merri Cvetan is a Wisconsin interior designer who enjoys incorporating her crafting skills into decor projects. Merri writes on both design and crafting for Home Depot. You can find an array of backsplash options on the Home Depot website.


Join the Conversation